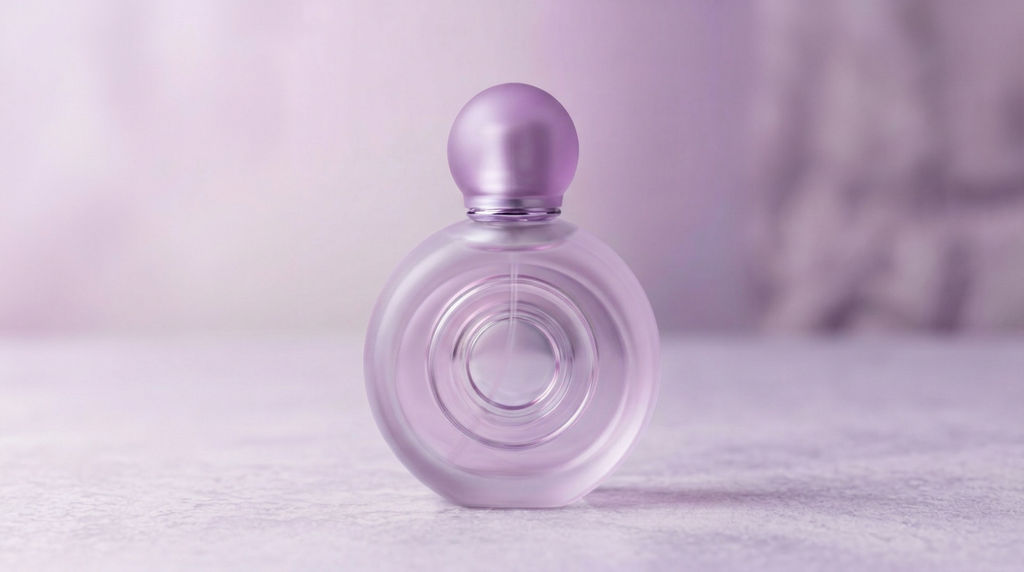
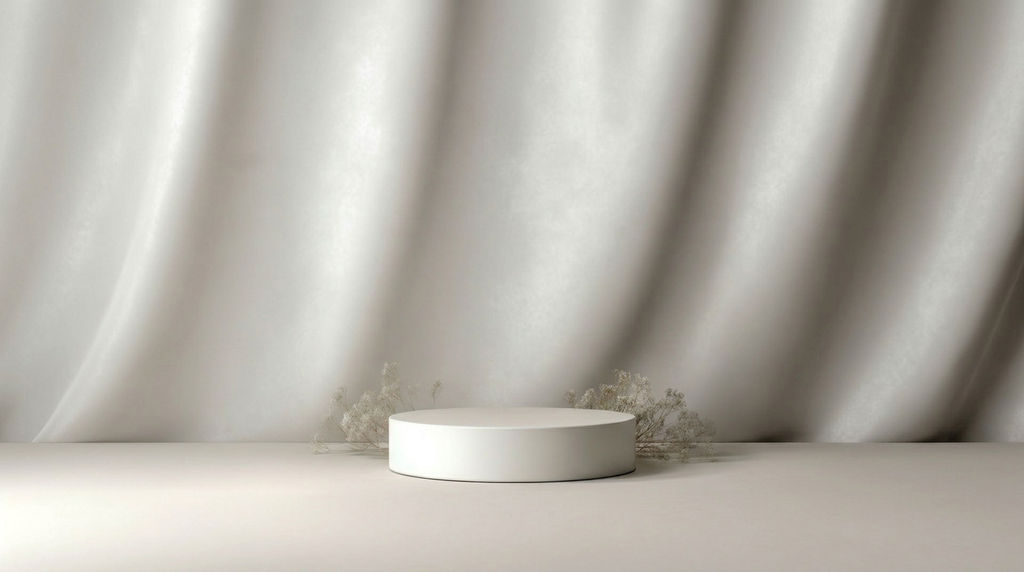
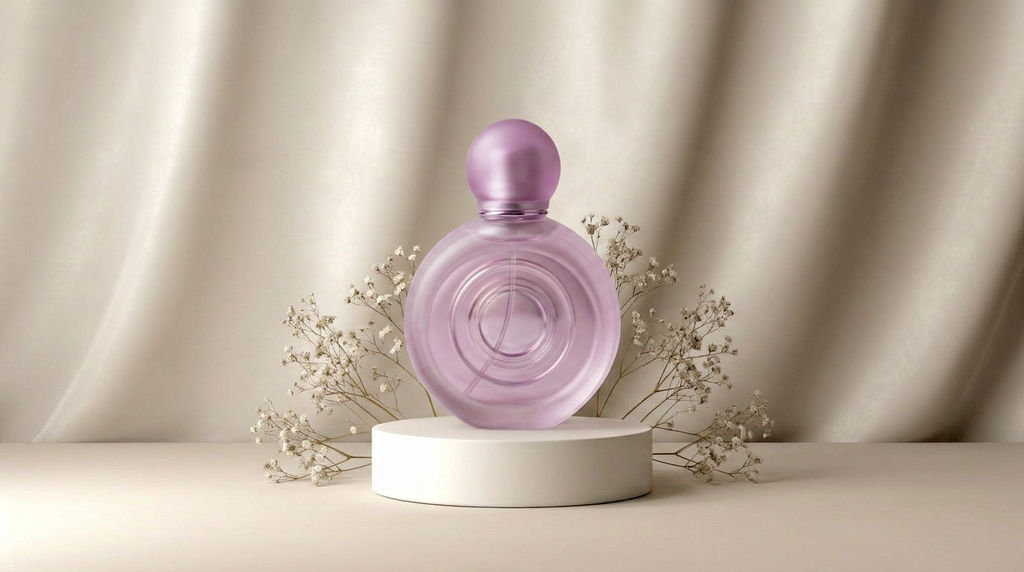
This photo background changer combines your subject with a reference background, producing a composite image with matched lighting and edges.

Product Lifestyle Photography
E-commerce brands use this background editor to place products into lifestyle scenes like kitchens, living rooms, and outdoor settings without expensive photoshoots or studio setups.
Portrait Relocation
Photographers and content creators use this background replacer to place portrait subjects into new environments that match their creative direction or brand aesthetic.

Ad Creative Variations
Marketing teams produce ad image variations by swapping in different background scenes, testing context without reshooting product photography.
How to use Techniques?
Discover how to utilize Swap Background for different scenarios.
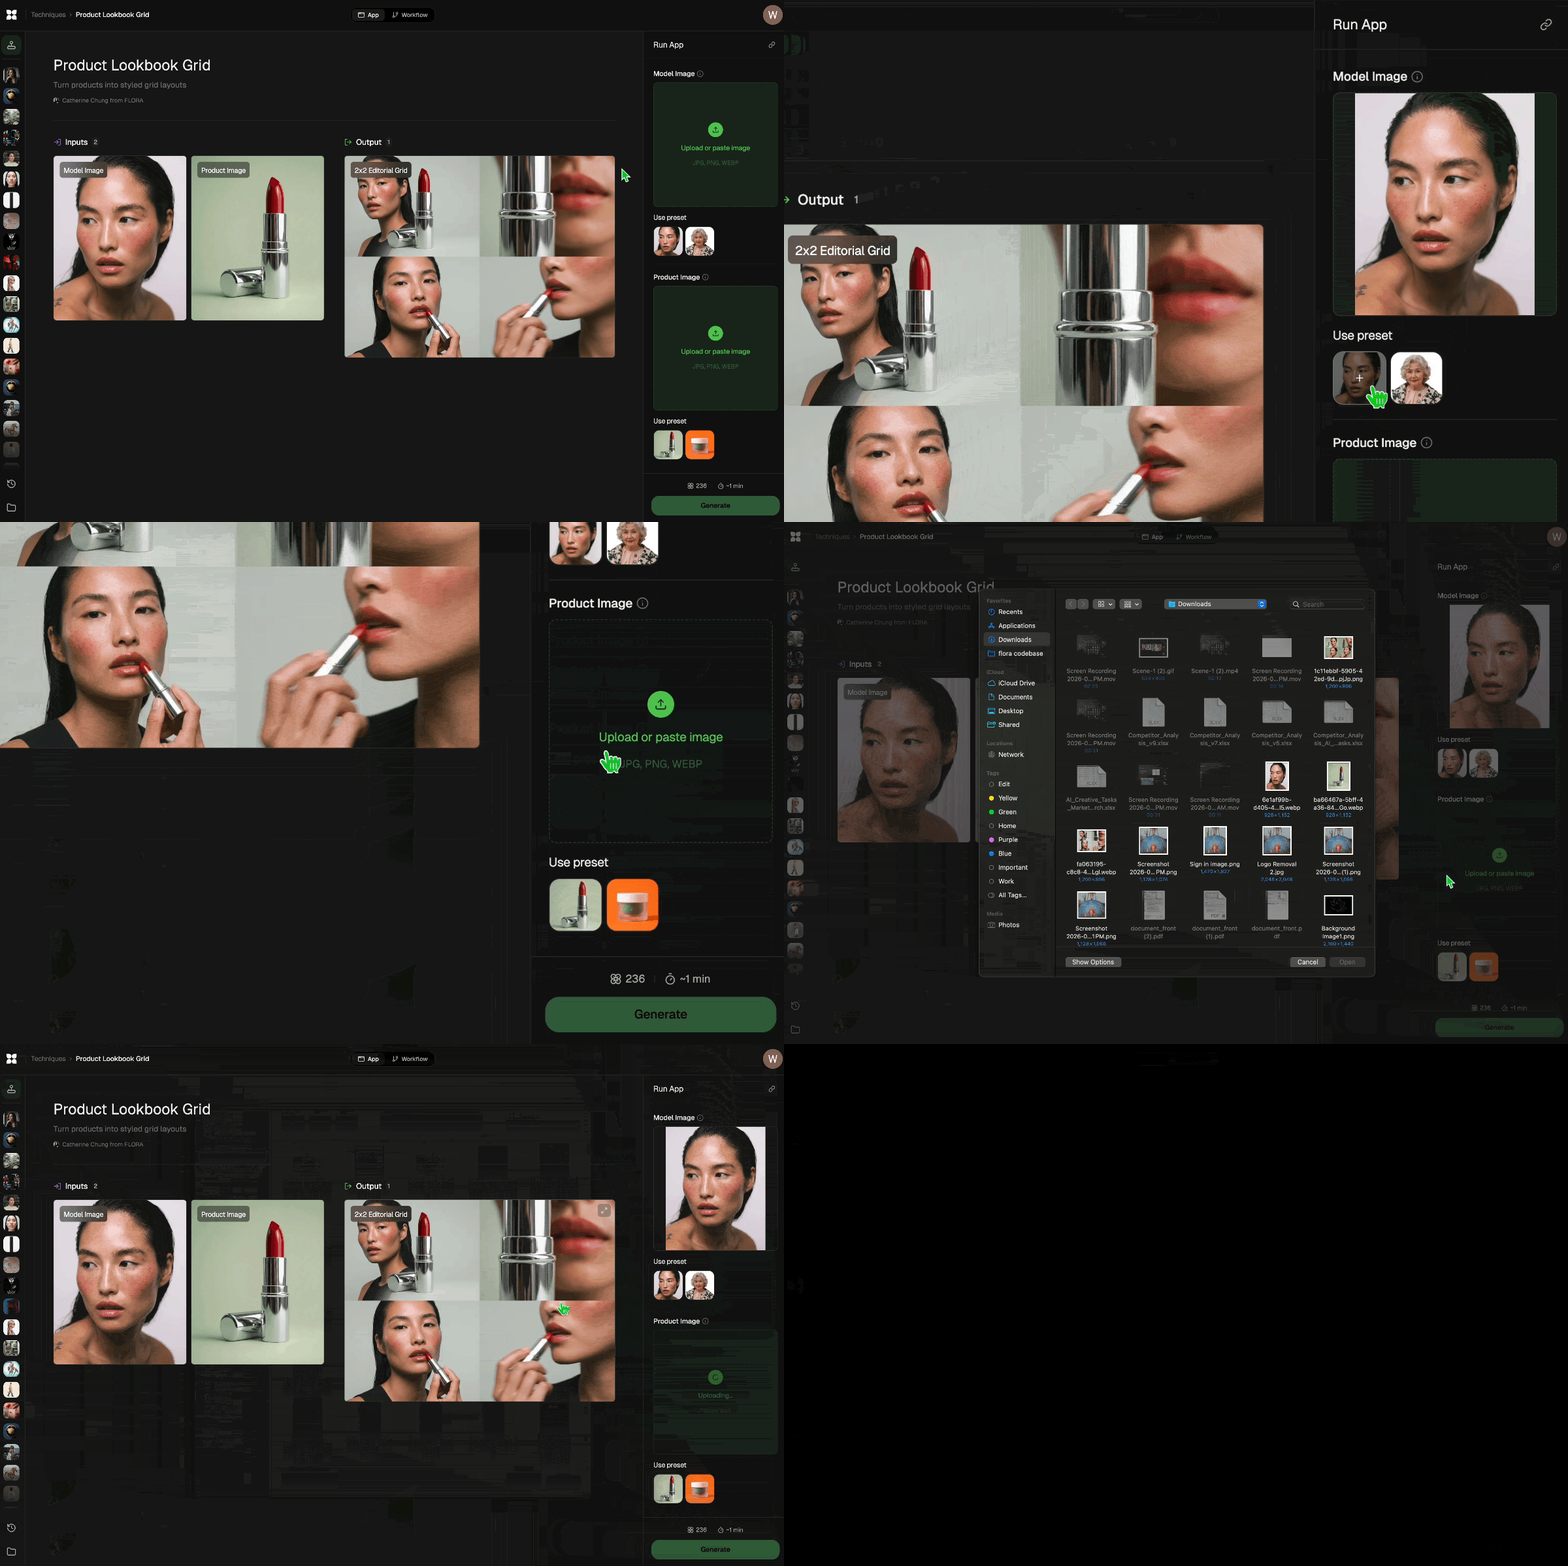
Add inputs
Upload images, videos, or type in the prompts to get started.
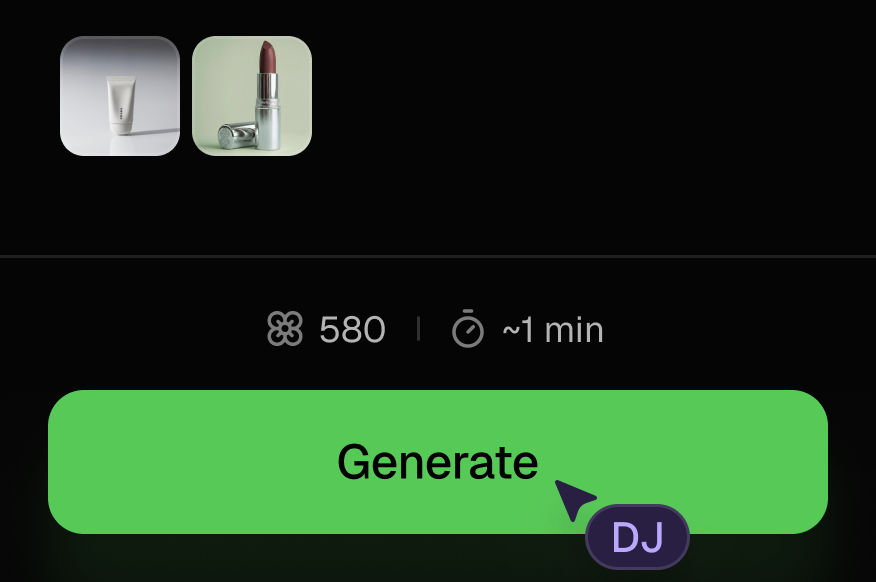
Generate outputs
Next, hit the "Generate" button to start generating your outputs.
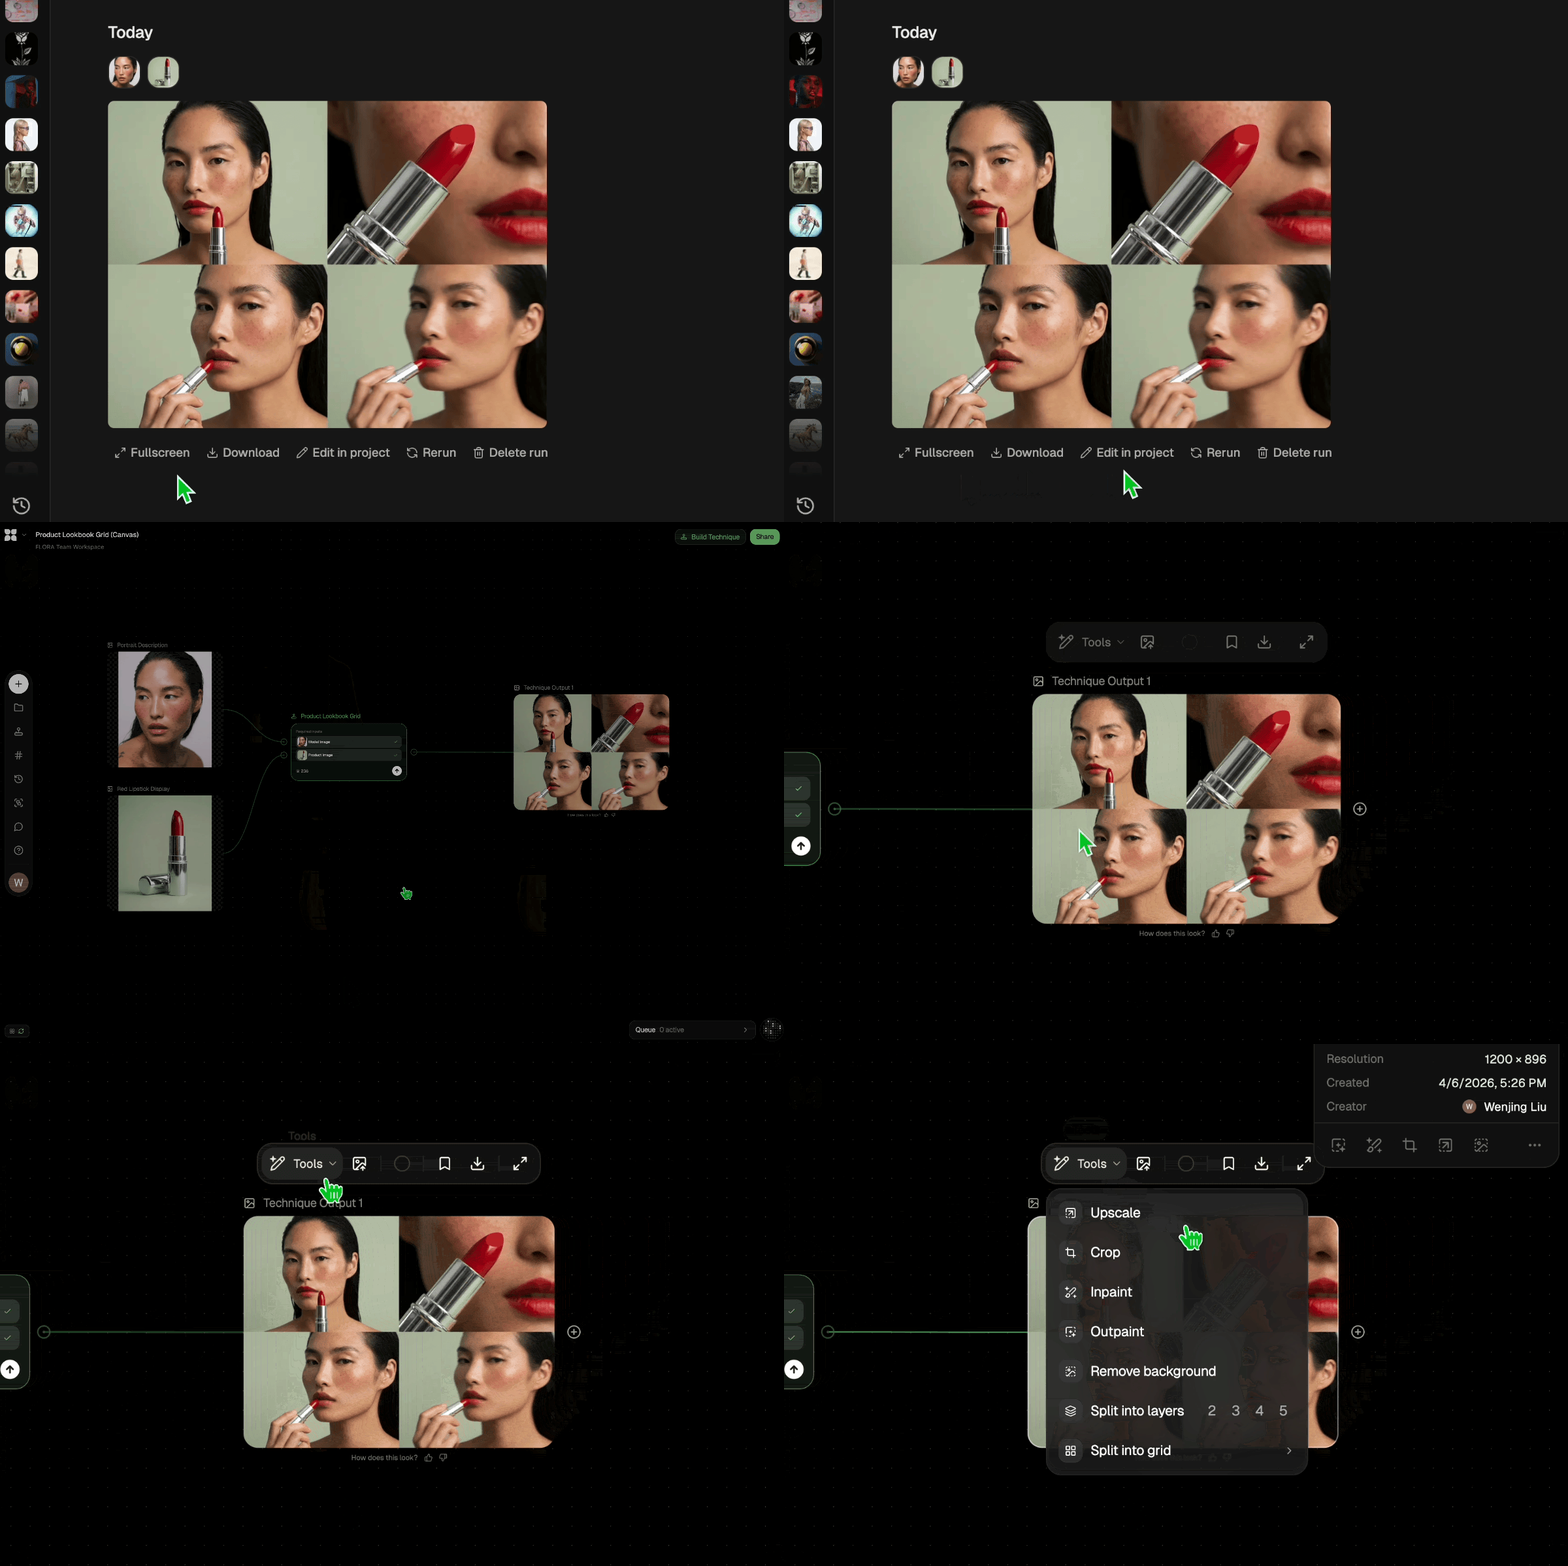
Edit and export
Refine your outputs on canvas, or download them directly.
Frequently asked questions
All you need to know about Swap Background
What is a background changer, and how does it work?
A background changer takes the subject out of one photo and puts it into a different scene, handing back a finished image instead of a cutout. You give it two things, the subject photo and the background you want it to end up in, and the AI does the isolating and the blending in one pass.
That's what separates it from a background remover, which stops at the transparent cutout and leaves the rest to you. A background replacer has the harder job, because it also has to work out how your subject should look under the new scene's light. You can try FLORA free and run it on your own images to see how close it gets.
How the AI rebuilds the scene around your subject
Older background editor workflows needed a clean key: a subject shot against a flat, evenly lit backdrop that software could isolate by color. Loose hair, glass, or a cluttered backdrop meant masking by hand, usually badly. An AI photo background changer doesn't key a color at all. It reads both images.
Roughly, it works in three passes:
- It builds a mask around the person or product, including the edges that trip up manual selection: hair, fur, glass, soft shadows.
- It samples the reference background for light direction, color temperature, and depth, so it has some idea what your subject should look like standing in it.
- It merges the two, adjusts the subject's tone and edges to match, and returns one image.
Step three is the part a plain cutout never does. Isolating a subject is the easy half.
Why some composites look convincing and others look pasted on
Most of it comes down to the two images you pair, not the model. Light direction is the big one. If your subject is lit from the left and the scene's light comes from the right, no amount of blending will hide it. Perspective matters nearly as much, since a product shot from above rarely sits right in a scene photographed at eye level. Resolution is the quiet one: a small, soft subject dropped into a sharp scene reads as an insert no matter how clean the mask is.
When a pairing doesn't work, swapping the reference scene usually beats trying to fix the composite. Run it again and compare.
One job, many names
People search for this a dozen different ways:
- "Change background of photo online free"
- "How to change the background of a picture for free"
- "How to edit background of photo"
- "How do I change my background"
Call it a background editor or a background replacer, the ask is identical: keep the subject, lose everything behind it. It runs in the browser, so you can use the background changer free to start, within the limits of the free plan.
When you don't have a reference background
Sometimes the scene you want doesn't exist as a photo yet. Generate a new background from a description, or scout a location if you need a specific setting for a shoot. If the listing calls for no scene at all, drop the subject onto a solid color background or a plain white background instead.
All of them land on the FLORA canvas, where the composite becomes the input for whatever comes next, usually an upscale or a set of ad variations. The rest of the toolkit sits under the FLORA AI image generator.
Related techniques
 Color Palette ExtractionExtract color palettes from any image
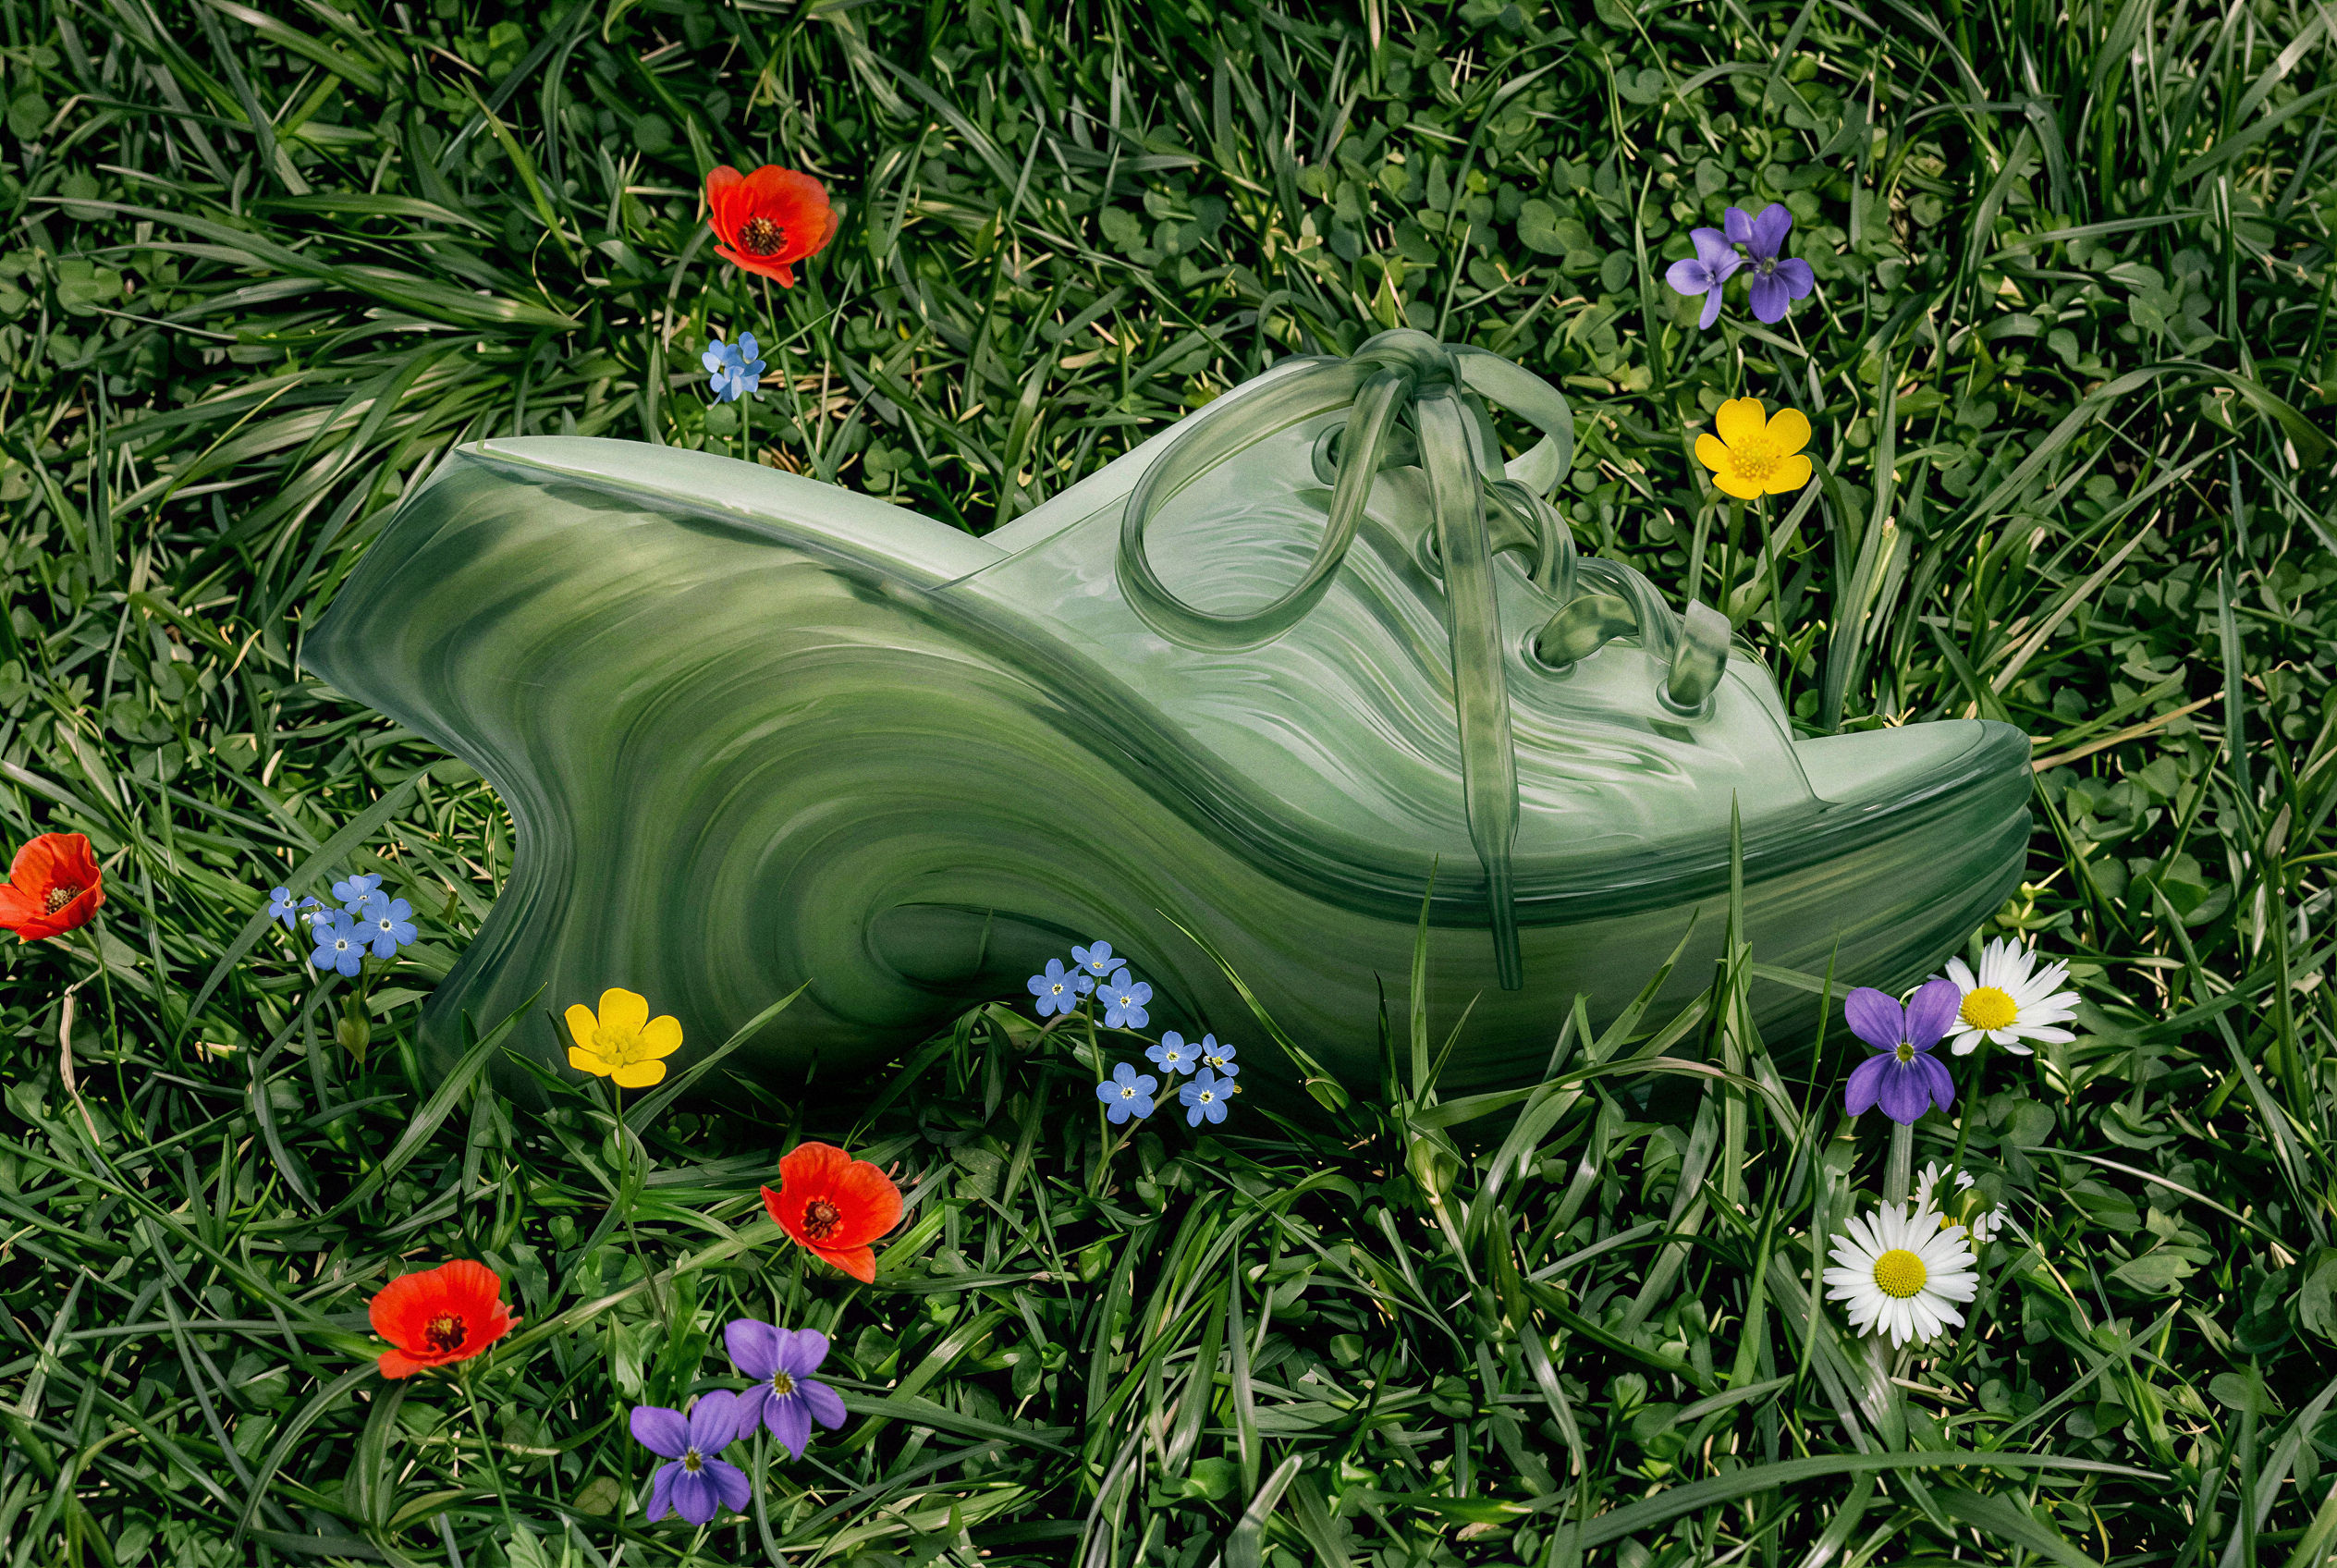 Image UpscalerUpscale any image to a higher resolution in one click.
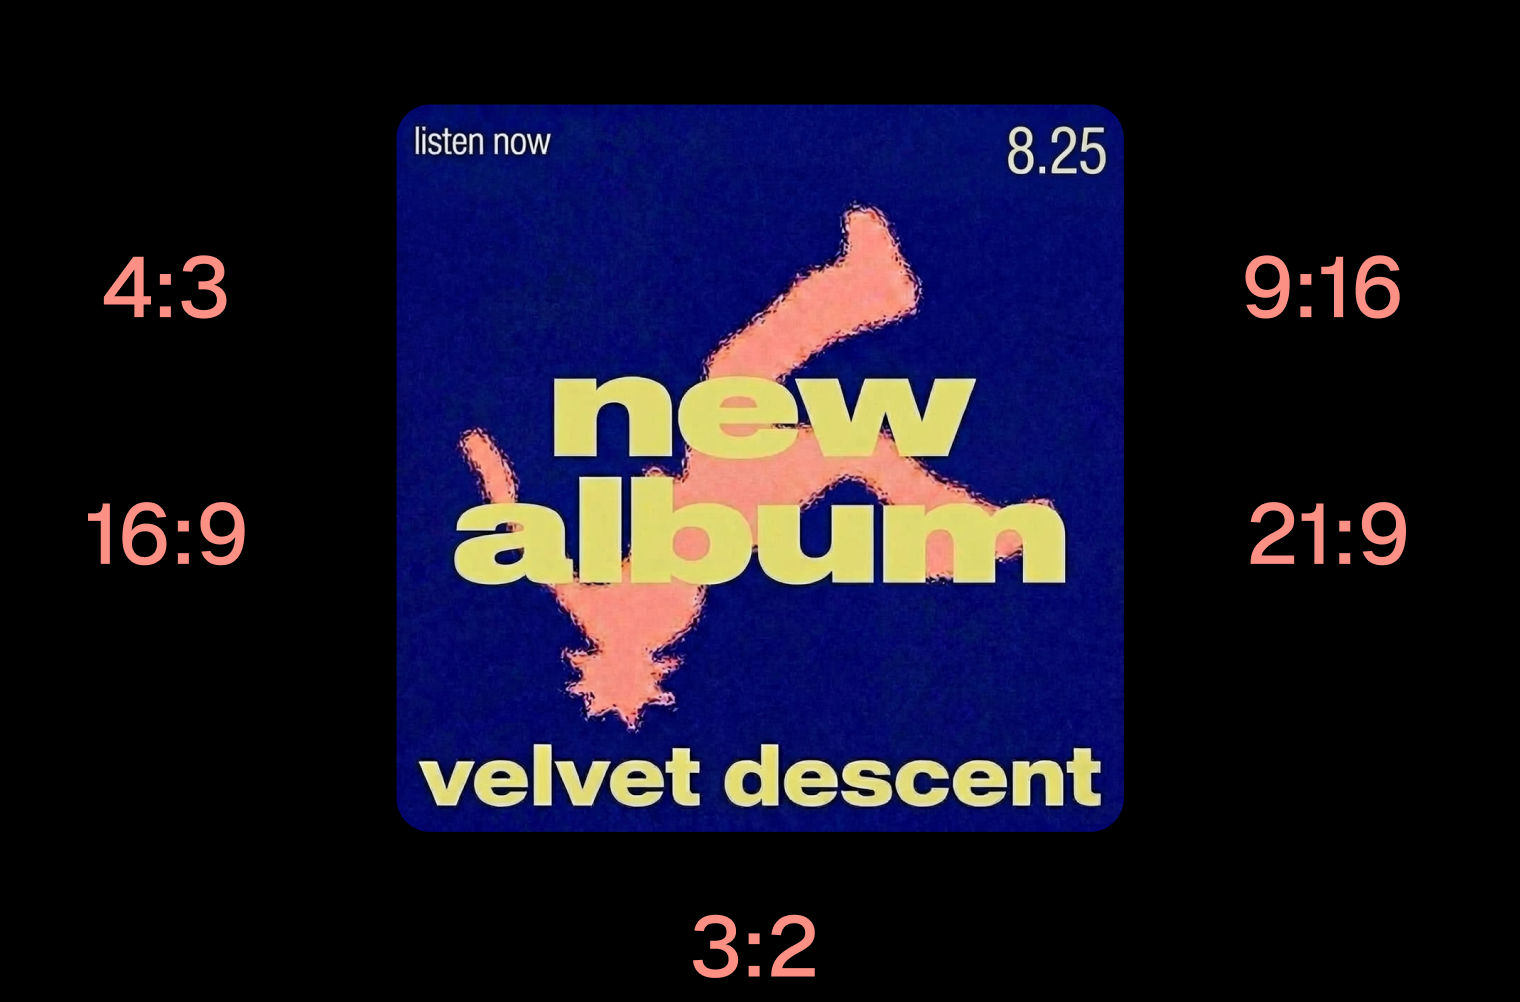 Layout ResizerResize layouts for any aspect ratio
 Prompt ExtractorReverse-engineers any image into a prompt
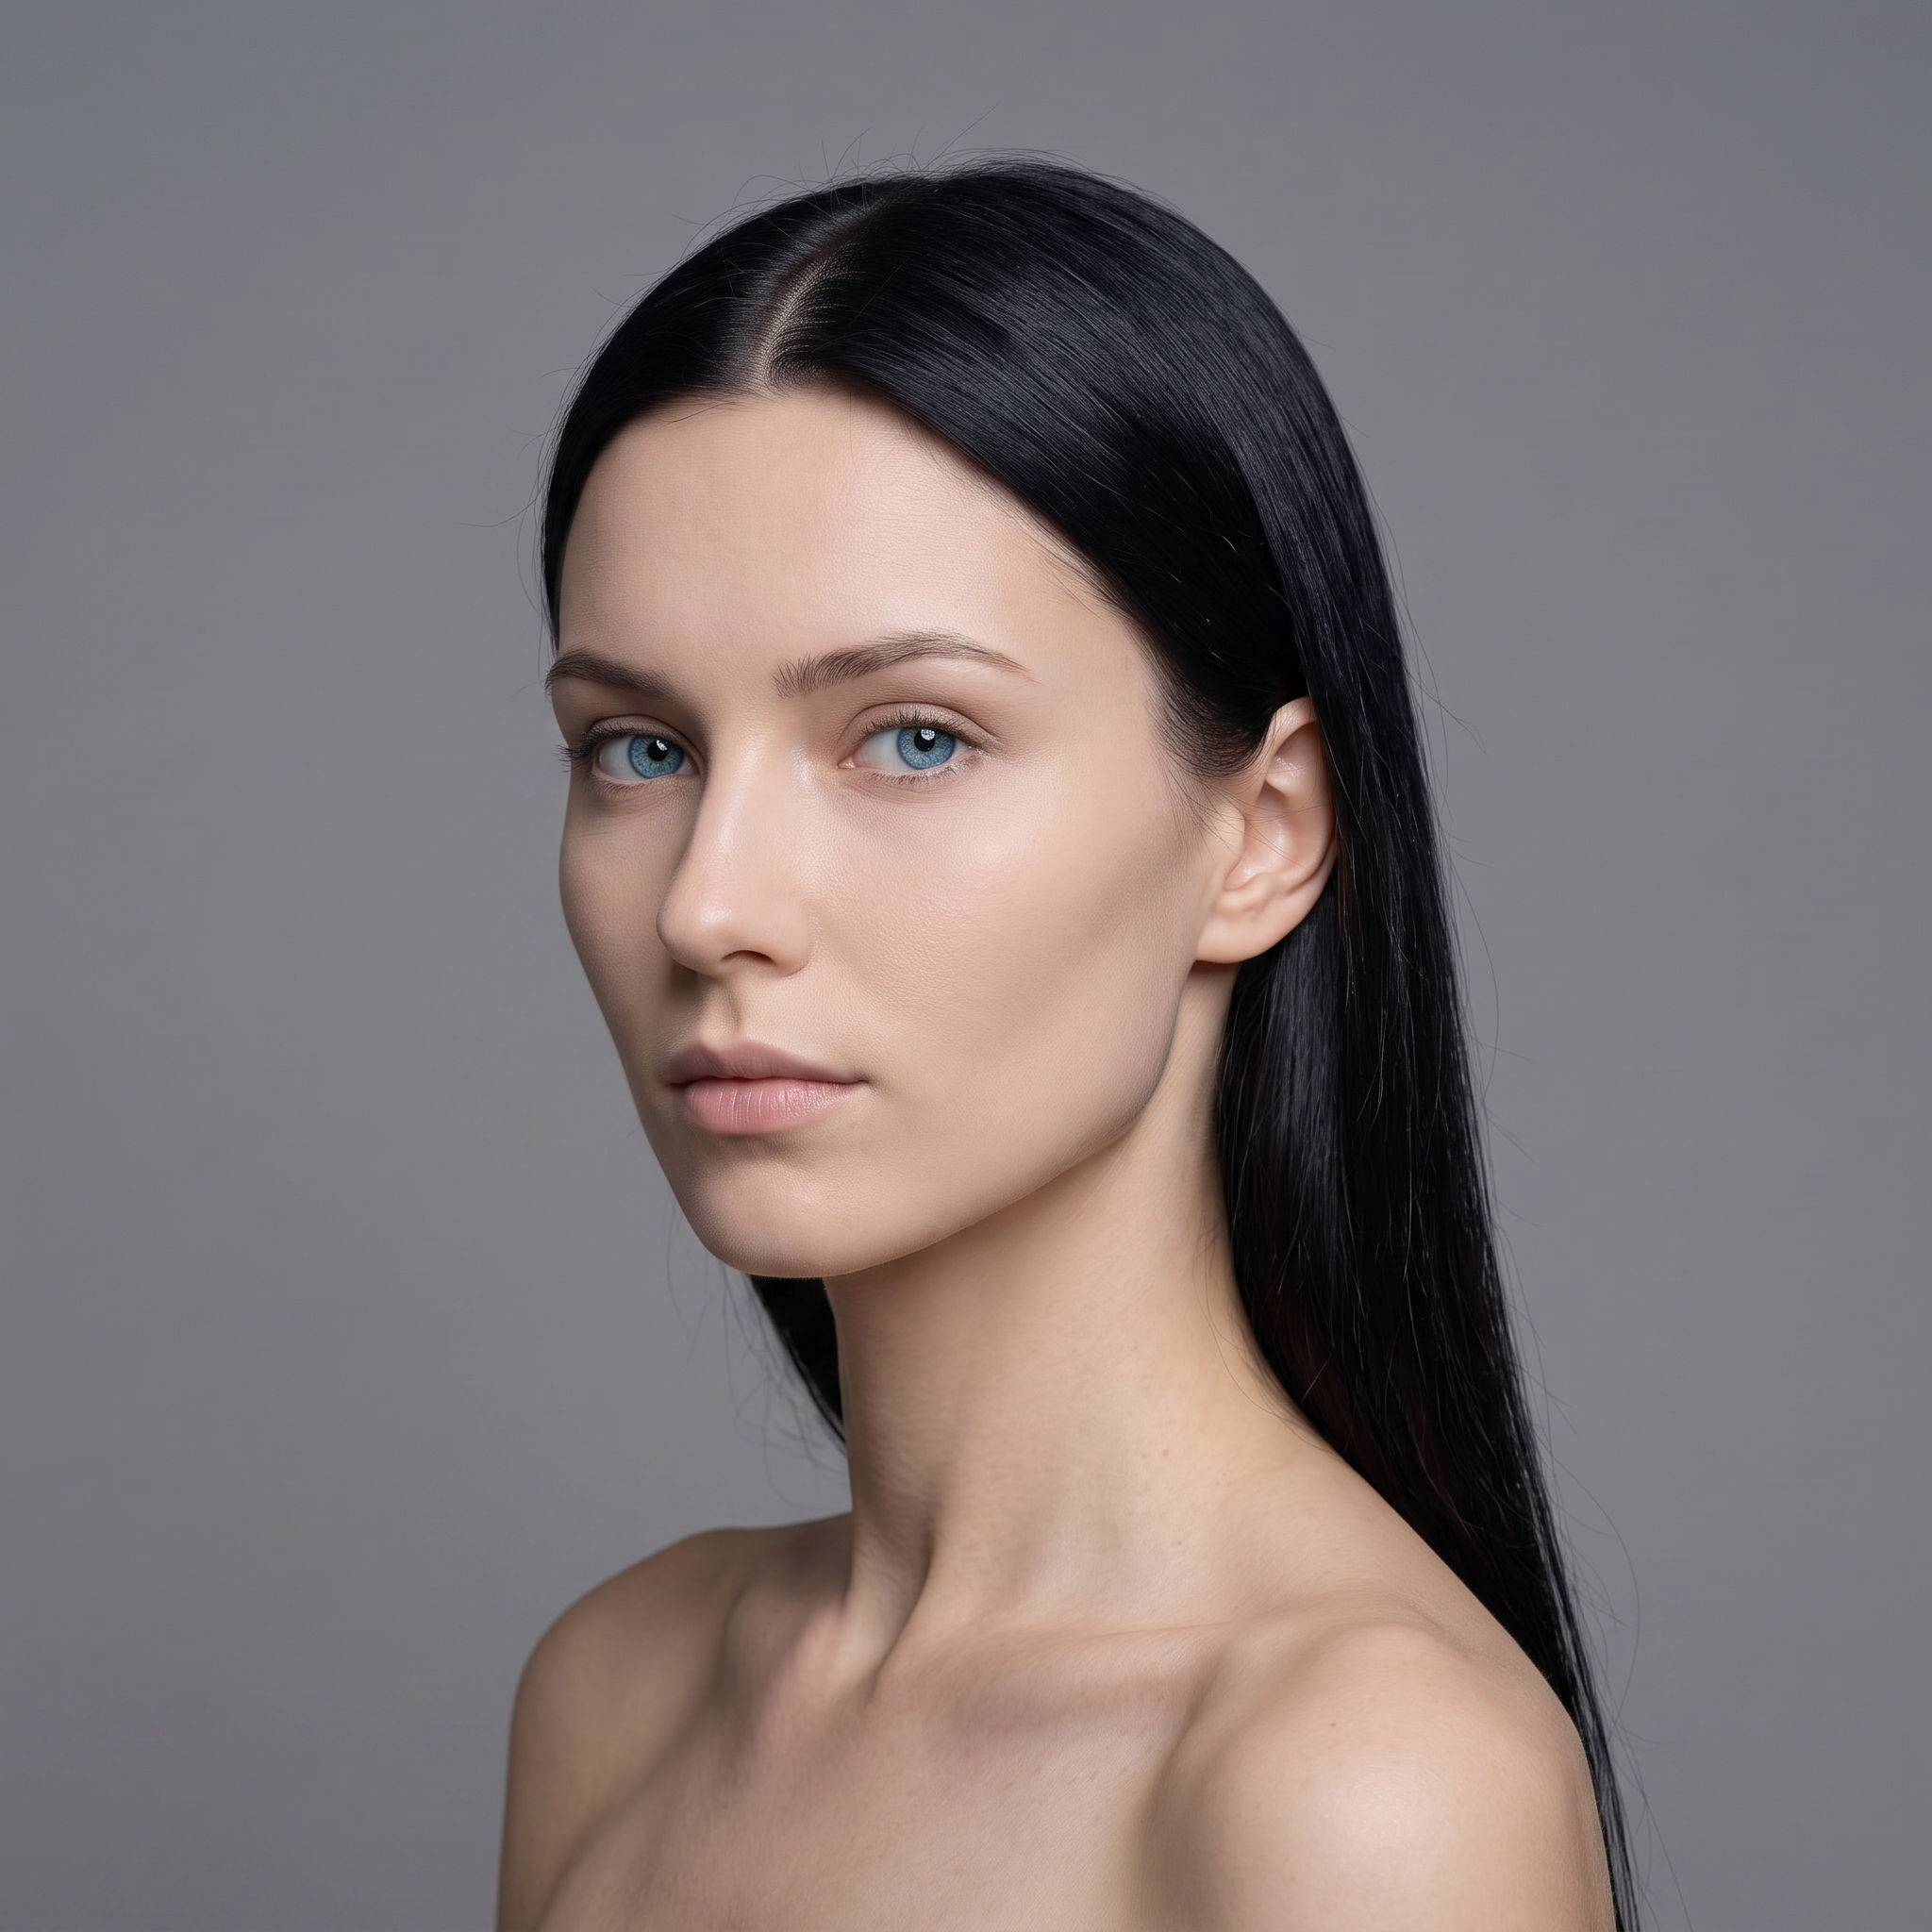 3 Angle ShootFront shot in, 45, 90, and 180 angle back
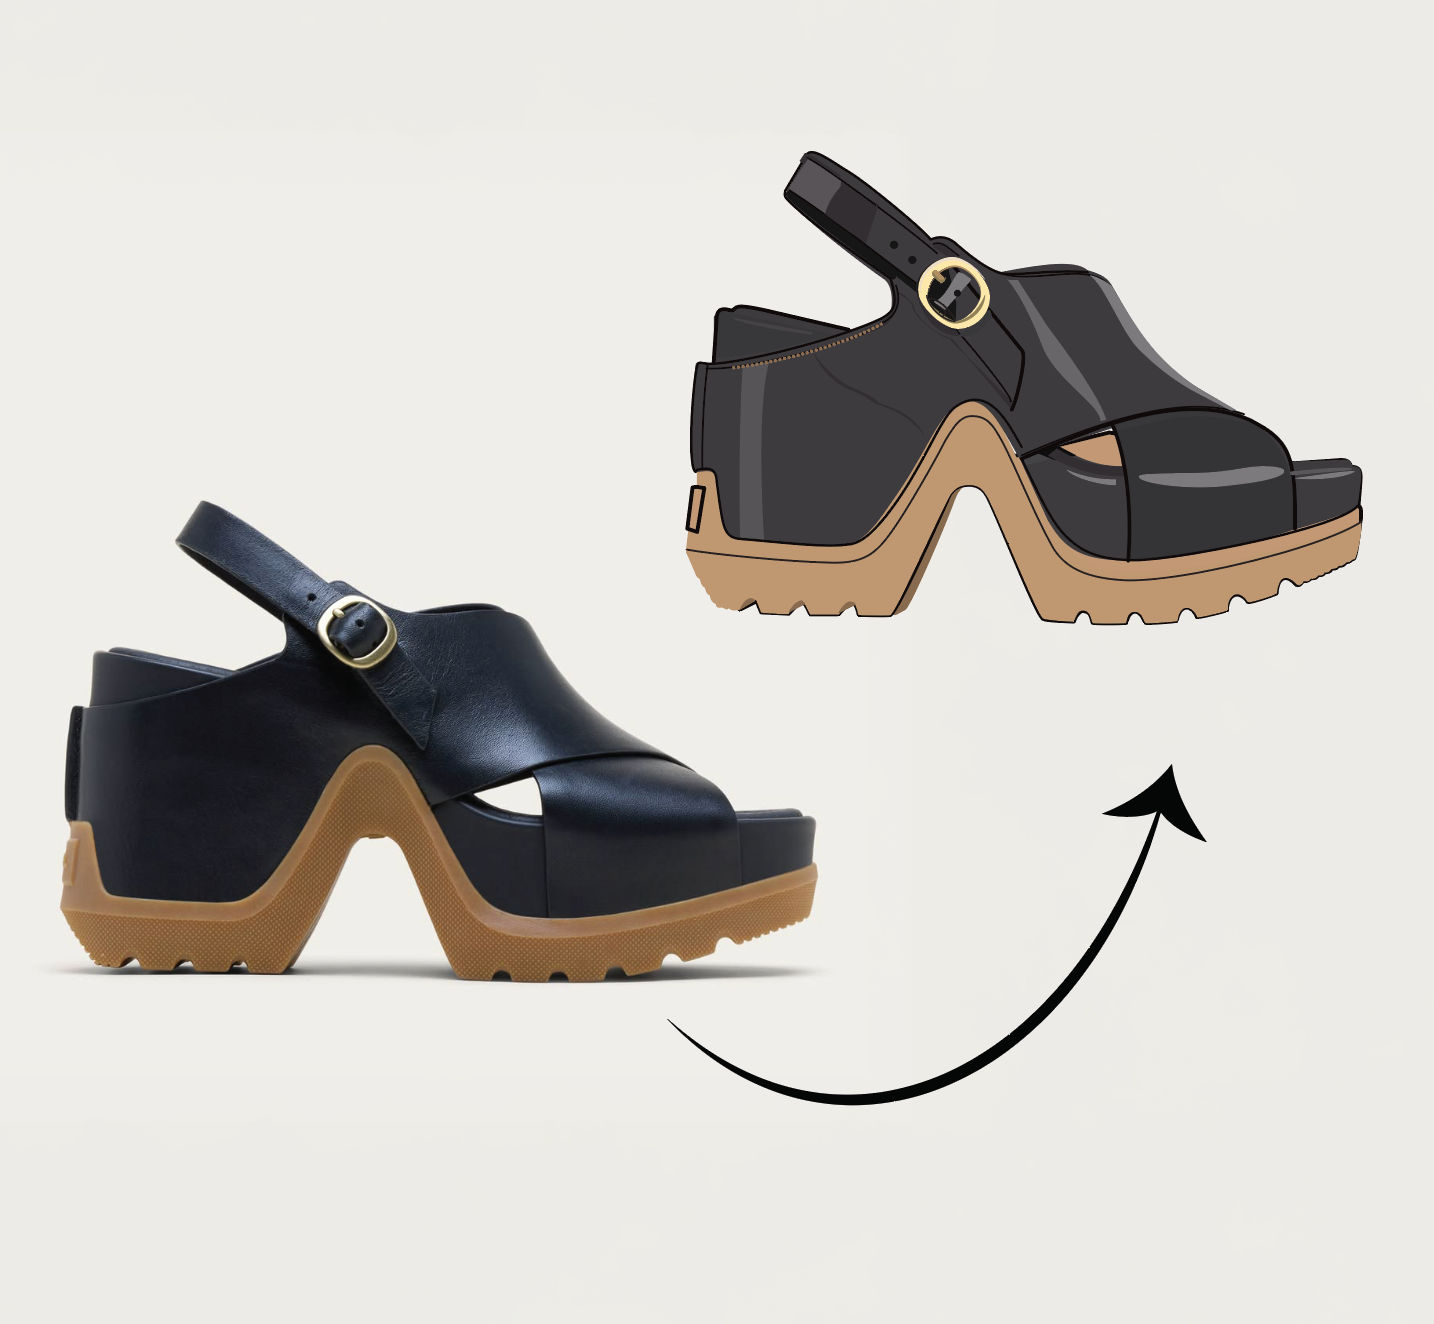 Anything to VectorTurn any image into a SVG vector illustration.
Use the Background Changer to Replace Any Photo Background in One Click
Swap any photo's background with an image of your choice in one click.

FLORA