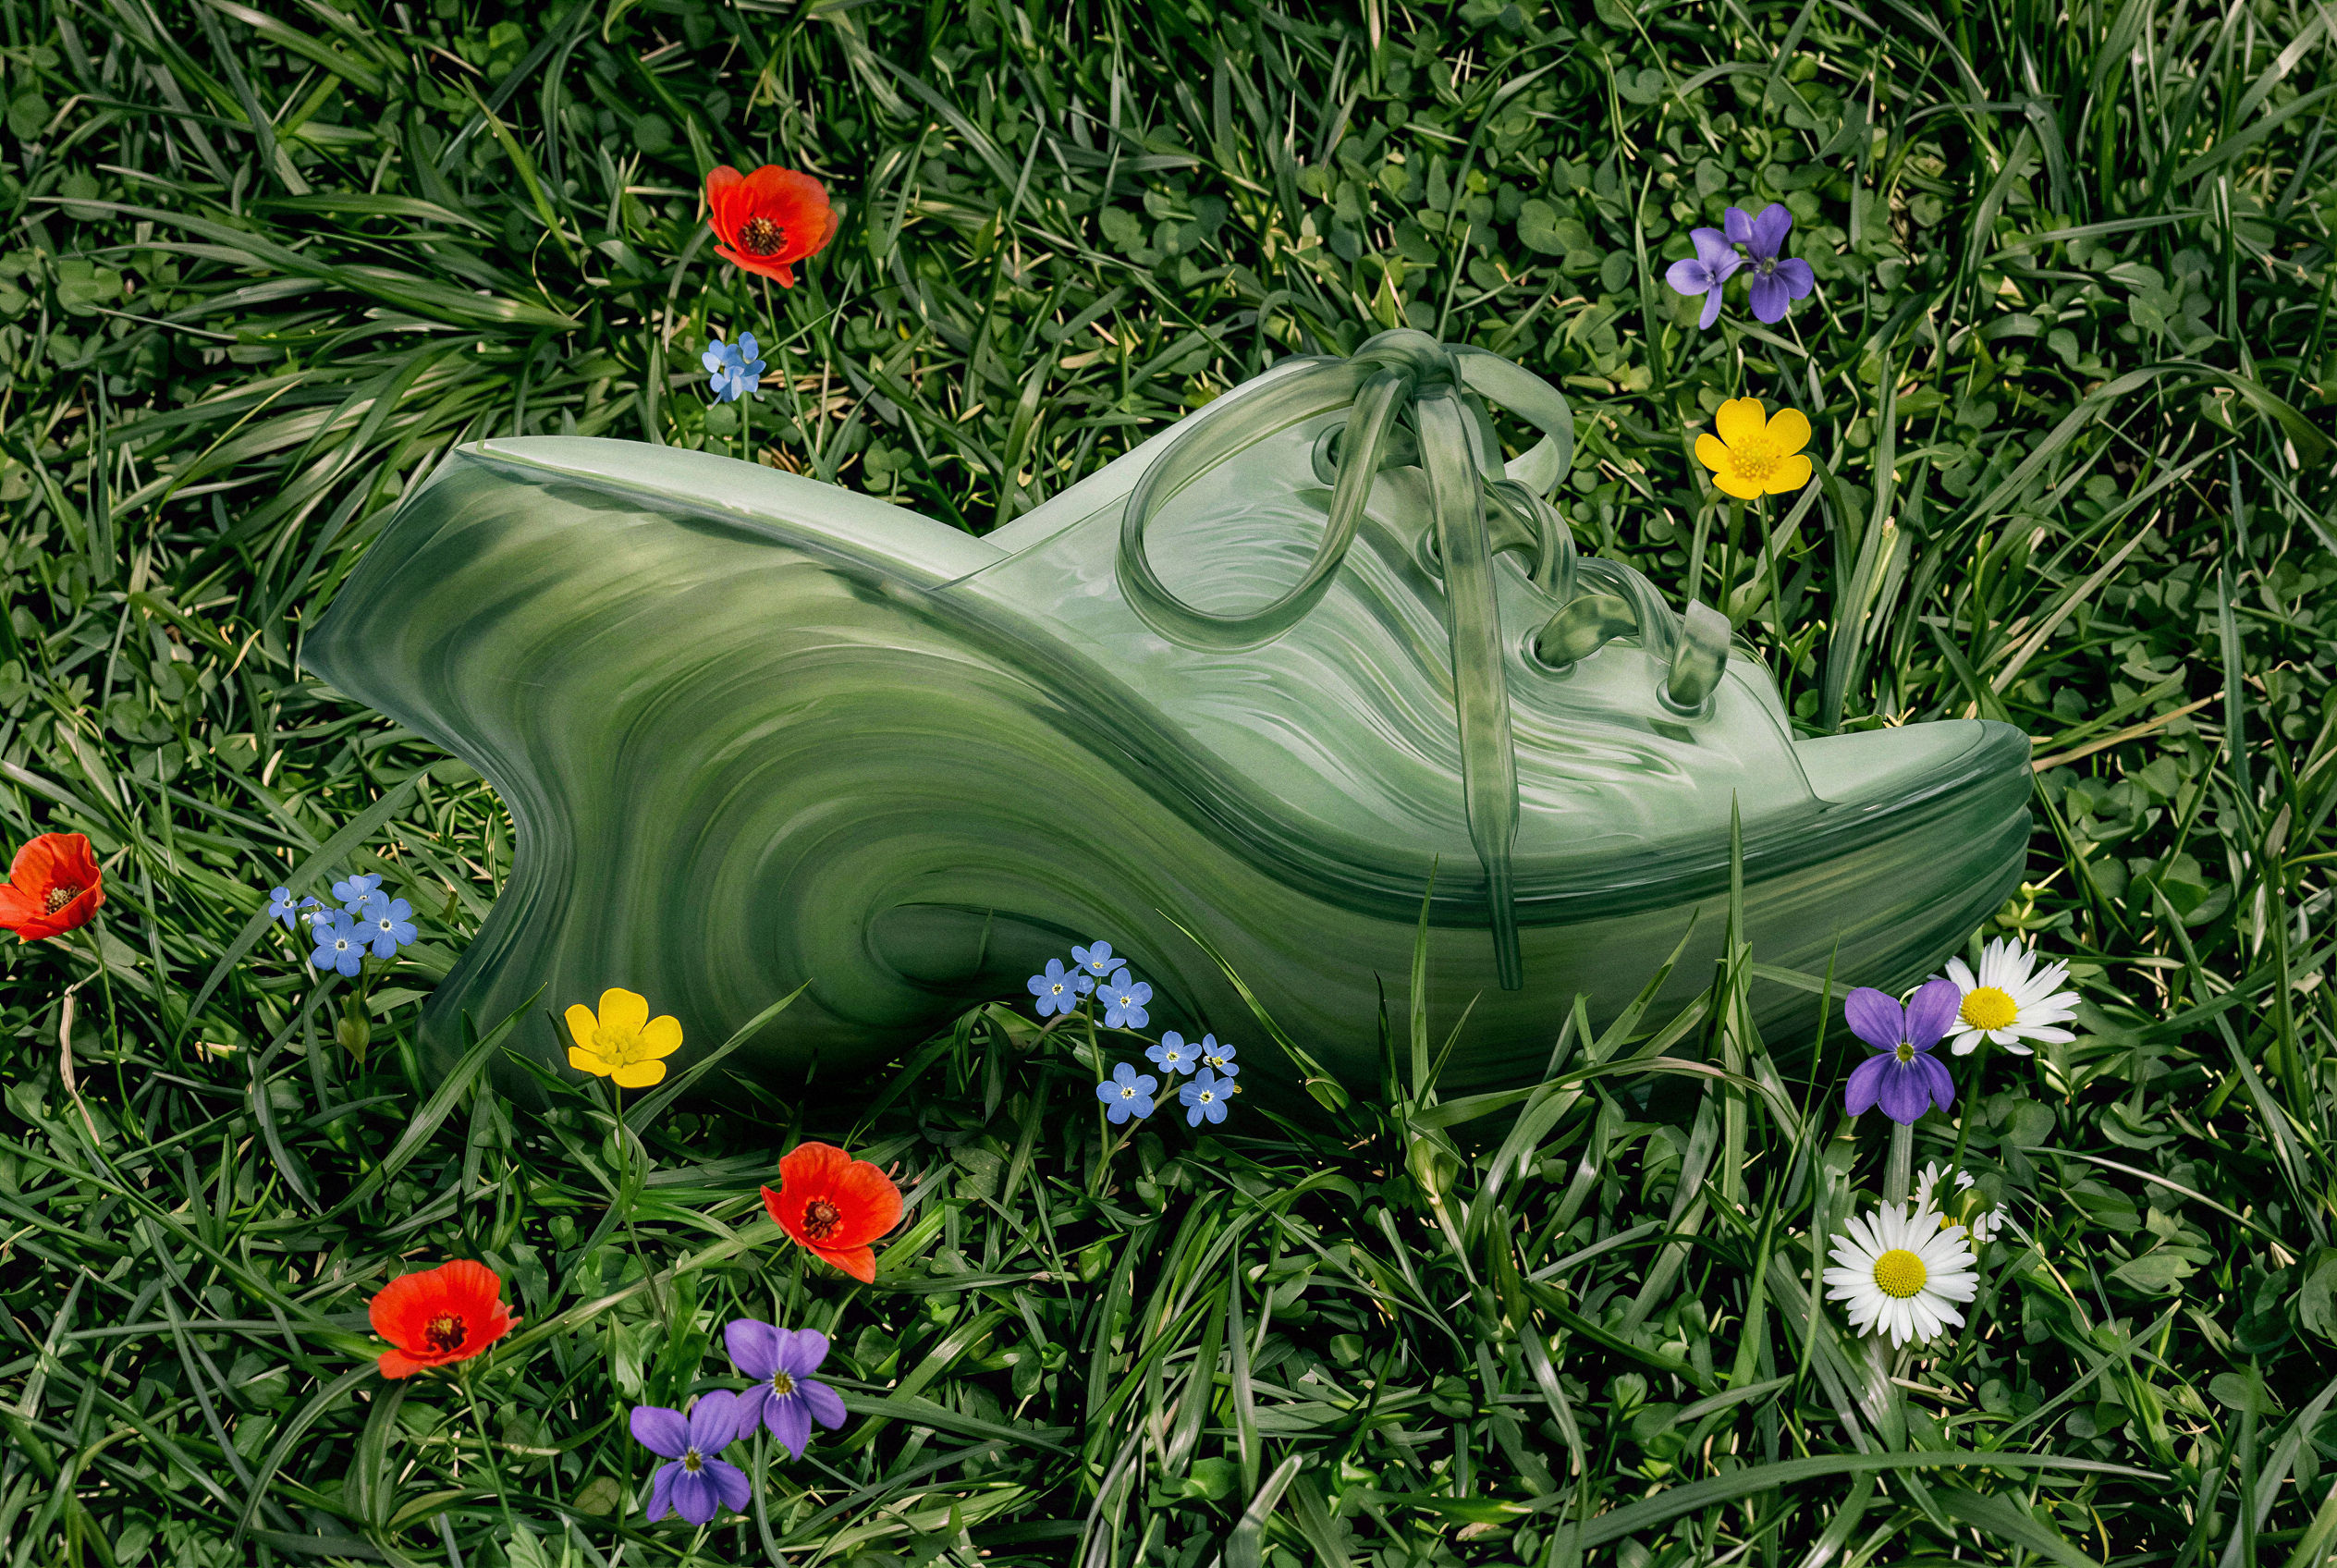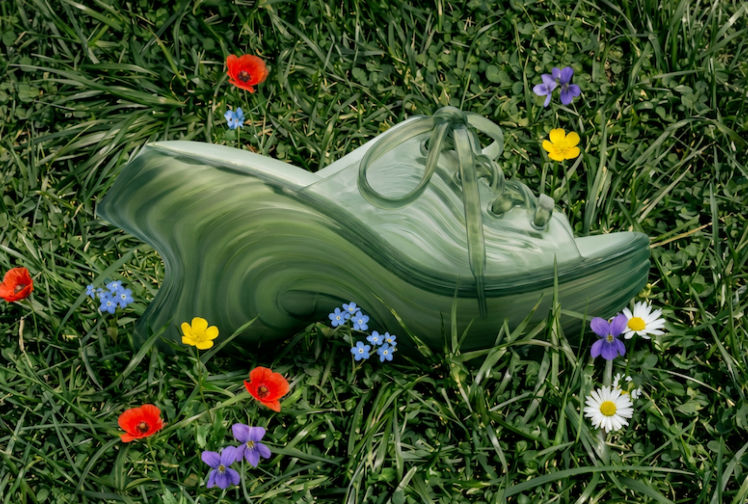
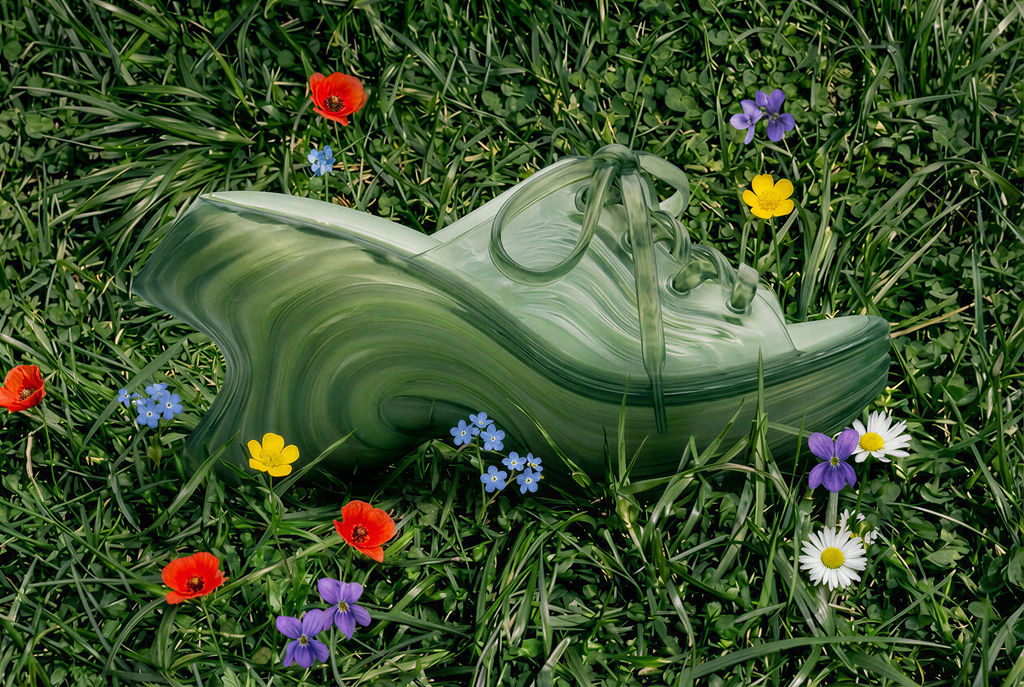
Upscales any image to a higher resolution in one click, enhancing detail and clarity.

E-Commerce Product Photos
Online sellers upscale picture assets to print-ready or high-res quality, improving sharpness and detail across listings and ads.

Content and Social Media
Content creators upscale picture online from lower-res assets to meet platform quality requirements without reshooting or re-exporting from source files.

Marketing and Print
Design and marketing teams upscale images for large-format print materials, including banners, posters, and signage, without loss of quality.
How to use Techniques?
Discover how to utilize Image Upscaler for different scenarios.
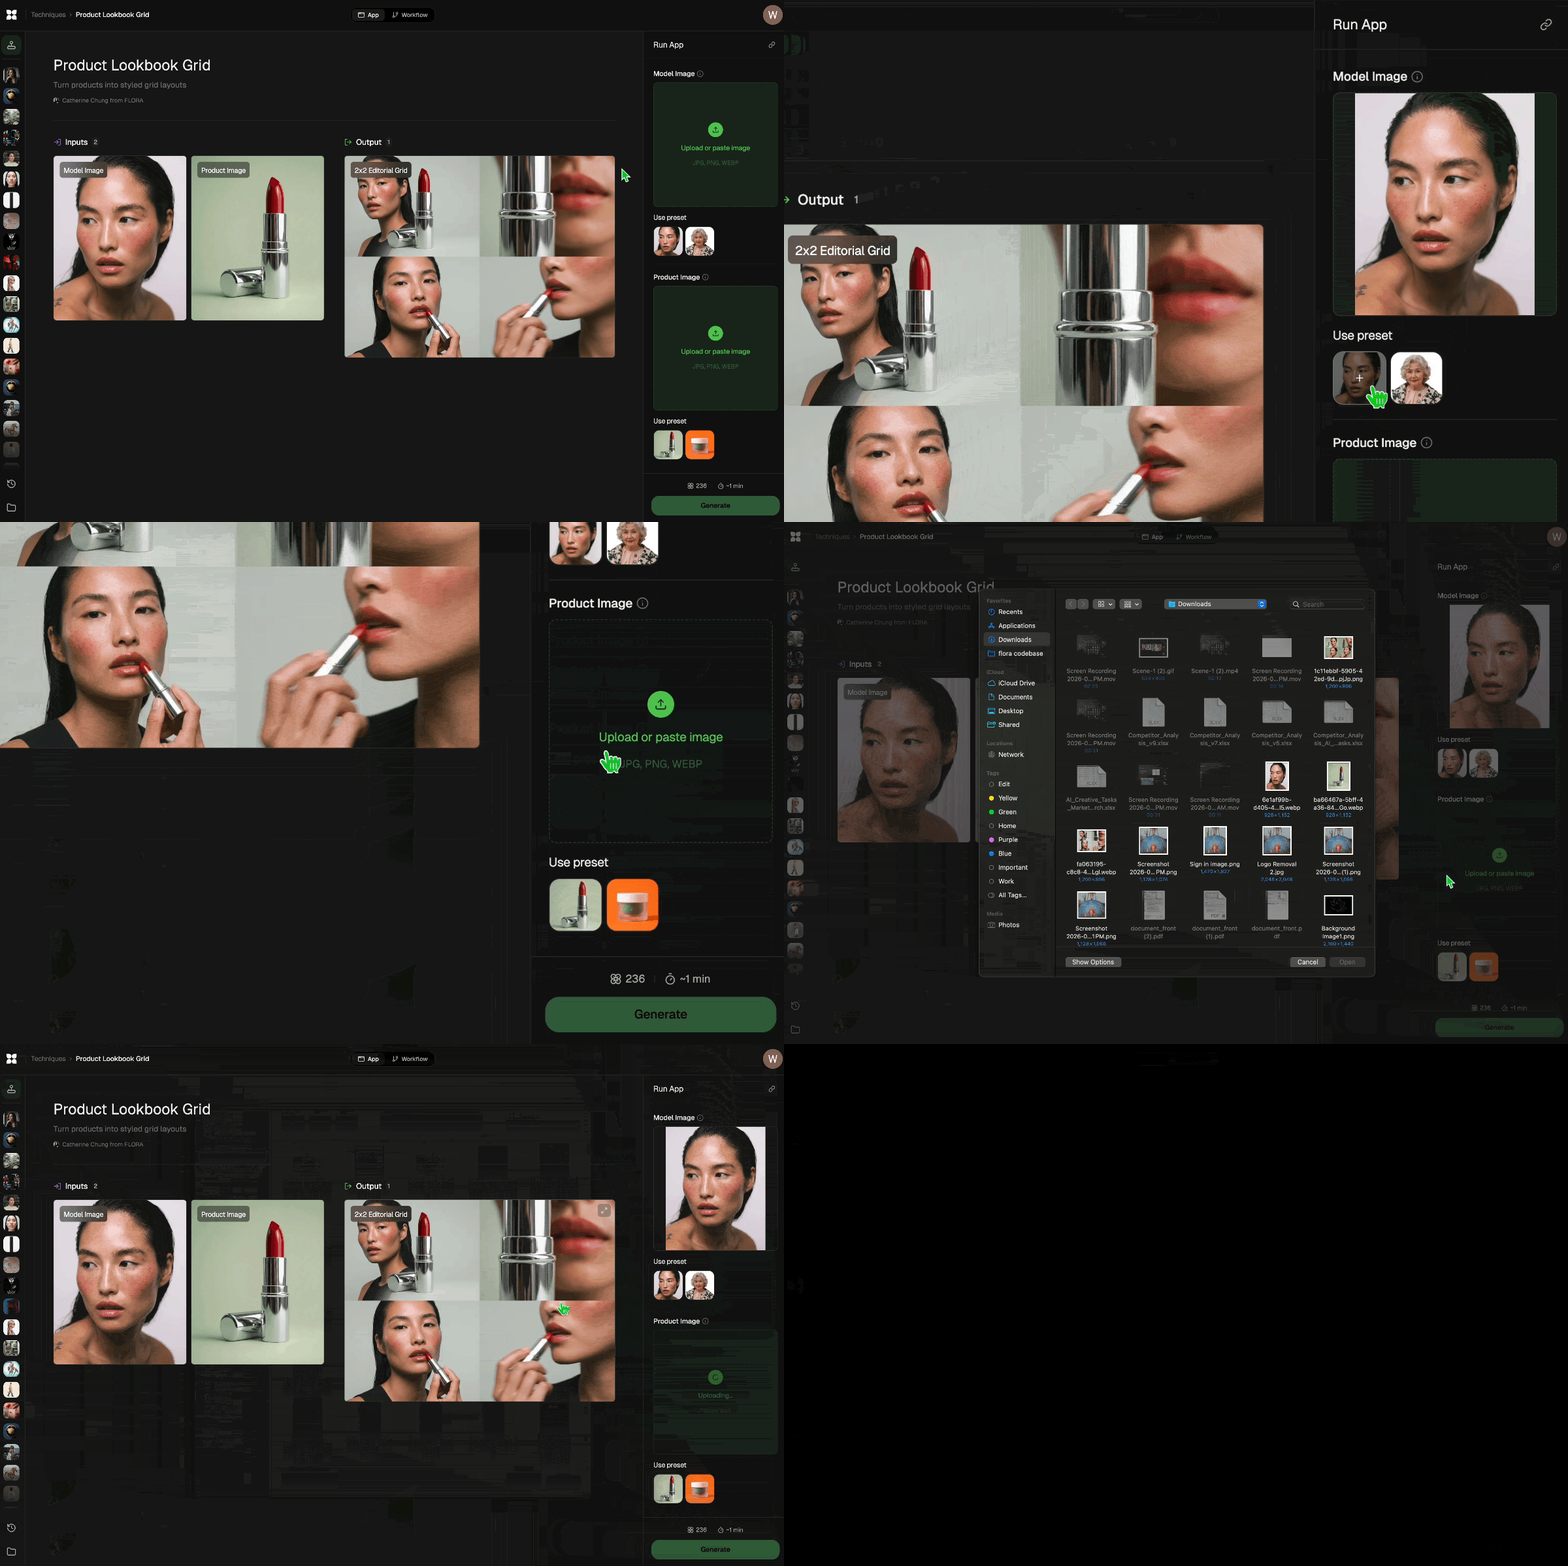
Add inputs
Upload images, videos, or type in the prompts to get started.
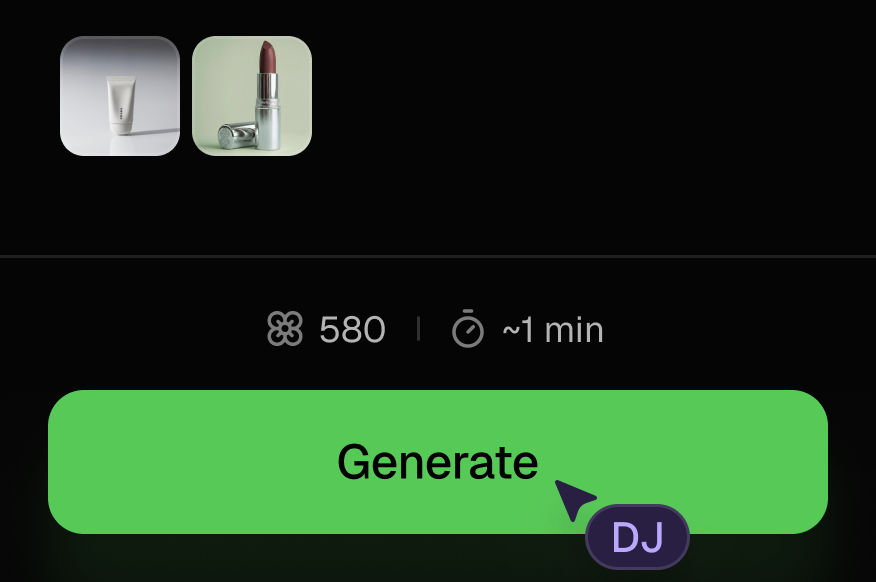
Generate outputs
Next, hit the "Generate" button to start generating your outputs.
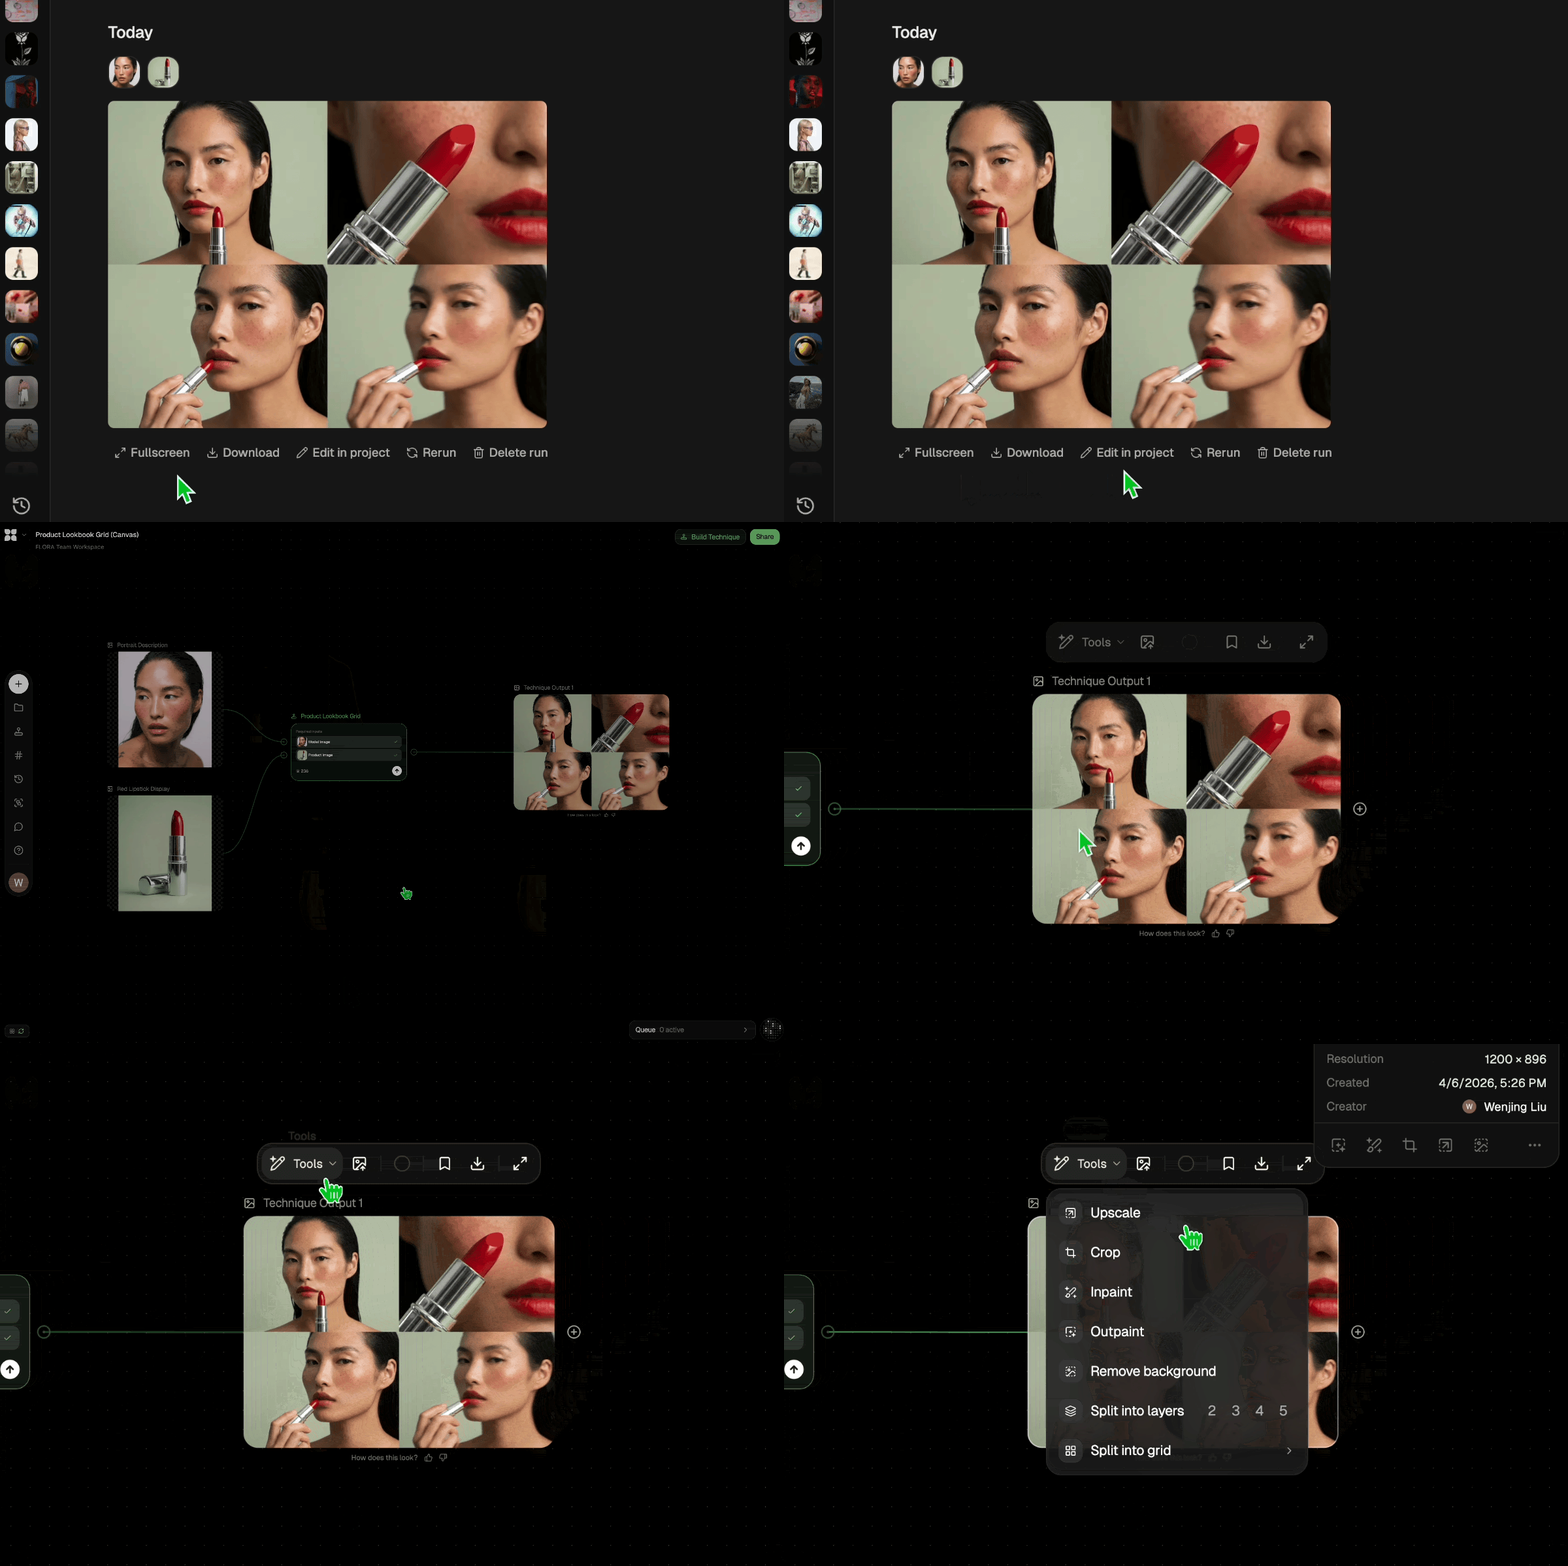
Edit and export
Refine your outputs on canvas, or download them directly.
Frequently asked questions
All you need to know about Image Upscaler
What an image upscaler actually does to your pixels
An image upscaler takes a picture at one pixel dimension and rebuilds it at a larger one, inventing detail that was never in the original file instead of stretching what was already there. Older resizing methods can only stretch, which is why AI picture upscaling holds together at sizes where they turn to mush.
So a small product shot can end up print-ready, and a screenshot that has been compressed twice can survive a banner crop. You can run an image through it on FLORA's canvas and keep working on the result right where you made it.
Interpolation stretches, AI reconstructs
Traditional upscale software works by interpolation. Algorithms like bicubic and Lanczos look at the pixels around each new pixel and average them into a best guess. Nothing gets added, so the file gets bigger while the amount of real information in it stays exactly where it was. Edges go soft, fine texture smears, and the whole thing reads as a small photo made big, because that is what it is.
An AI upscaling tool works the other way around. The model learned from image pairs, a sharp original sitting next to a degraded copy of itself, over and over, until it knew what kind of detail disappears when a photo shrinks. Give it a small input and it predicts what the missing detail probably looked like, then paints it in. The original pixels are gone for good and no software is getting them back. What you get instead is a reconstruction close enough that your eye accepts it.
Why the output looks the way it does
Since that detail is predicted rather than recovered, what comes back depends a lot on what is in the frame. Organic texture does well. Fabric weave, skin, hair, foliage, stone: the model has seen those patterns endlessly, so its guesses land close. Detail that carries meaning is harder. Small type, logos, license plates, and fine interface elements can drift, because the model is drawing something text-shaped, not reading the letters underneath.
Faces sit awkwardly between the two. Skin and hair upscale beautifully, but the model is also making decisions about eyes, teeth, and the exact geometry of a nose, and at high magnification those decisions can quietly shift how much someone looks like themselves. On talent work or anything a client has approved at low resolution, compare the upscale against the original at full size before it goes out.
Which is worth knowing before you pick a source file. Hand it the biggest, cleanest version you have and not a twice-compressed export, because every compression artifact in the input looks like detail to the model, and detail is what it amplifies. Then check any small type in the result before it ships.
Pixel dimensions and DPI are not the same thing
Half the confusion around resolution comes from treating these as one number. DPI tells a printer how densely to lay pixels down on paper. Pixel dimension is how many pixels there are to lay down. Switching a file from 72 to 300 DPI in an export dialog creates no new pixels at all, it just packs the existing ones tighter, which makes the printed image physically smaller.
That is the real problem an upscaler solves for print. Holding 300 DPI across a poster instead of a postcard takes more pixels, not a different number in a dialog box. A catalog shot on a clean white background can look perfect at thumbnail size and still fall apart on a trade show banner if the pixels were never there. Screens ignore DPI entirely and go by pixel dimensions against their own density, which is why an asset that looked crisp in a product grid comes apart as a full-bleed hero.
Generated images and camera photos fail in different ways
Source matters more than people expect. A compressed photograph still has real optical detail buried under the artifacts, so the model has something true to work from. An image that came out of an AI image generator has no ground truth anywhere in it. Every pixel was invented once already, so upscaling it means one model elaborating on another model's elaboration.
That shows up in the places generated images were already weak. Hands, reflections, repeating patterns, and any text the first model attempted tend to get more confidently wrong as resolution goes up, not more correct. The sequencing fix is simple. Generate at the highest native resolution your model supports, fix the composition while the image is still small and cheap to redo, and upscale only the version you have actually settled on. Upscale a rough draft and you get a bigger rough draft.
The same job goes by a dozen names
Part of the trouble in finding a photo upscale tool is that nobody agrees on what to call one. People search "upscale picture online," "AI increase resolution," "enhance photo 4k," and "how to enlarge image without losing quality," and all of it lands on the same operation: more pixels, plus enough invented detail to make them worth having. Whatever you typed to get here, if you need to upscale picture files for a print run, a retina display, or an ad placement you never shot for, this is the thing that does it.
Where upscaling belongs in a sequence
Resolution should come last. Every edit costs more time and compute on a big file than a small one, so fix the image first and enlarge it second. Take out an unwanted object, drop the background, shift a product's color, and crop to the ratio you need while the file is still light. Then upscale once, at the end, so the resolution you pay for is the resolution you ship.
On FLORA's canvas that whole sequence is one workflow instead of four round trips through four different apps. The image upscaler is a node like any other, so the cleanup feeds the recolor, the recolor feeds the upscale, and one finished high-res result can branch into every size a campaign needs without anyone going back to the source file.
Related techniques
 Prompt ExtractorReverse-engineers any image into a clean, structured prompt you can reuse, remix, or feed into another model.
 AI Art Generatorone idea becomes a whole gallery: an original art piece, restyled across art movements, printed, and set in motion. Useful for: artists, print-shop sellers, and anyone who types a wild idea into an "AI art generator" and wants more than one random square — a coherent body of work they can hang, print, and post.
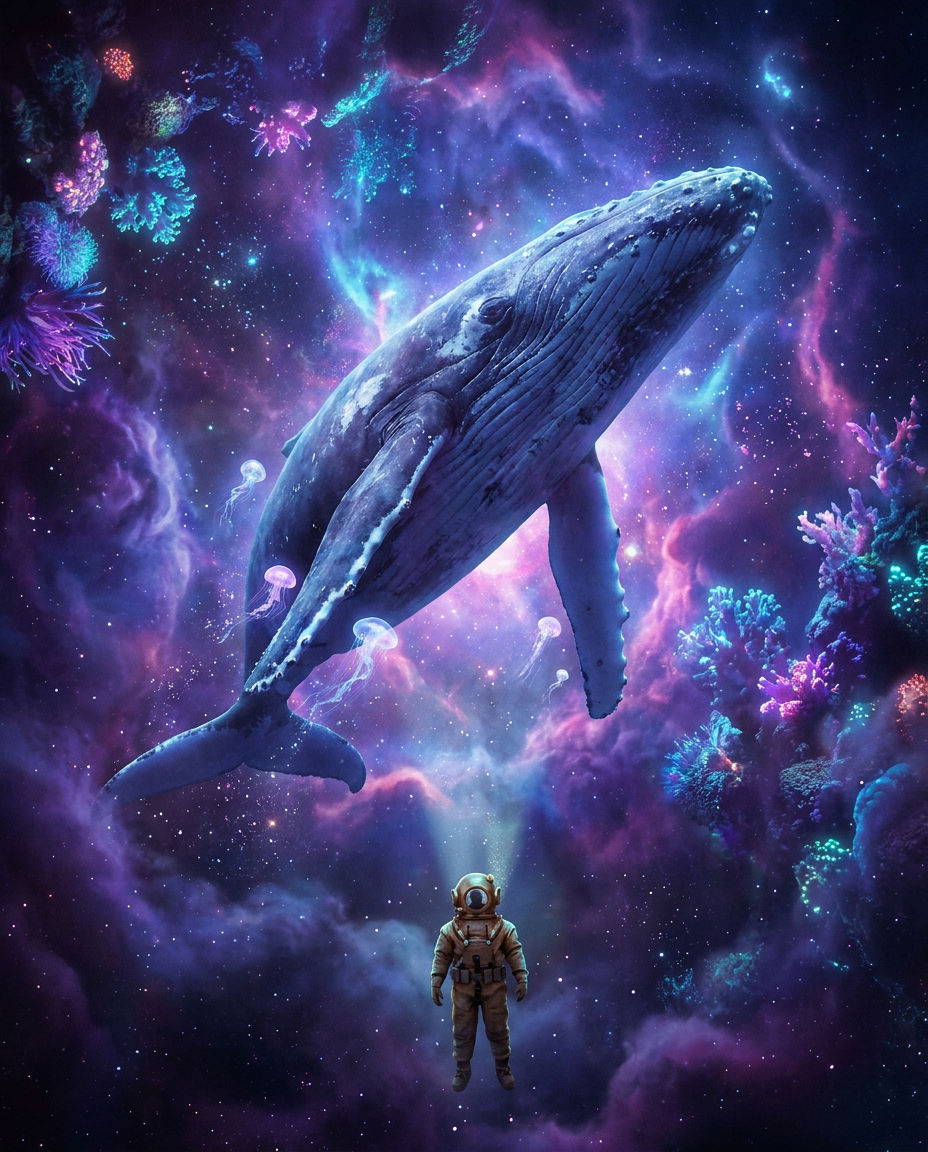 AI Art Generatorone idea becomes a whole gallery: an original art piece, restyled across art movements, printed, and set in motion. Useful for: artists, print-shop sellers, and anyone who types a wild idea into an "AI art generator" and wants more than one random square — a coherent body of work they can hang, print, and post.
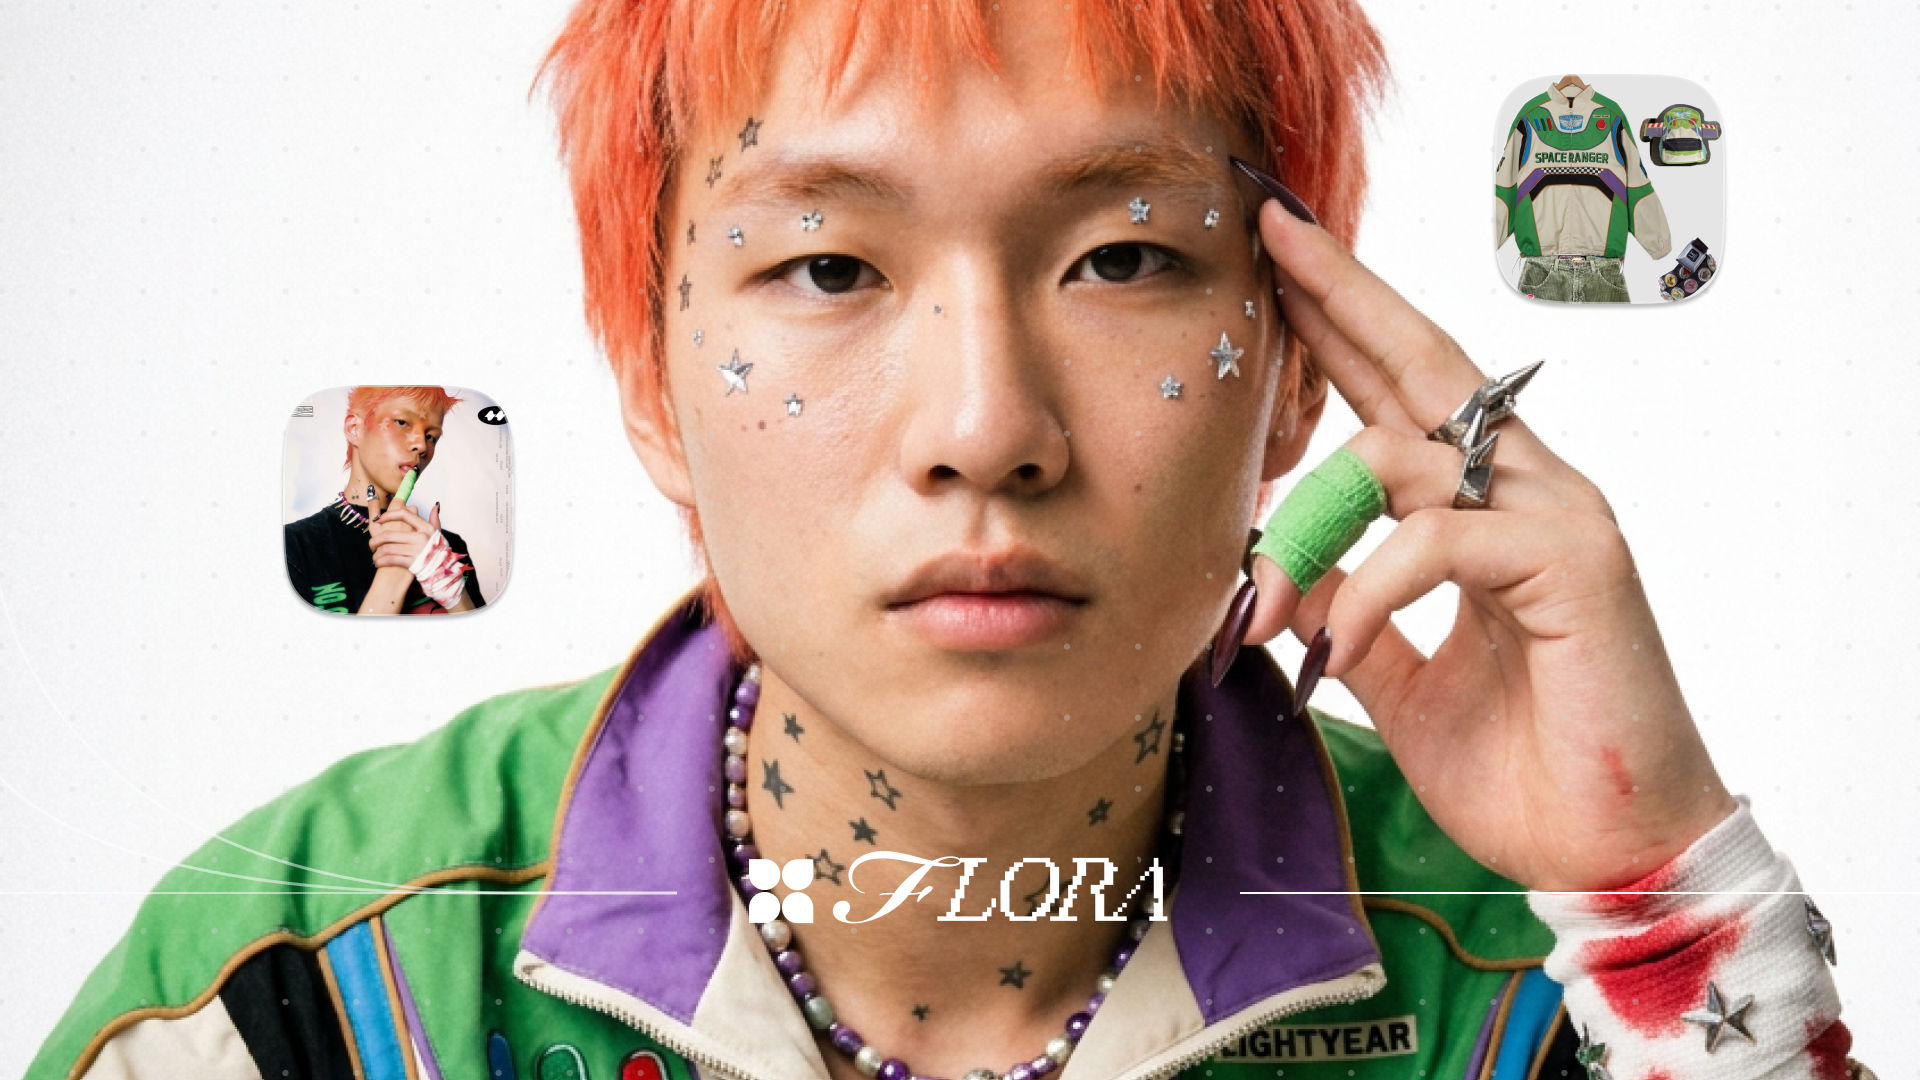 AI Model EngineGenerate a model for your future campaign
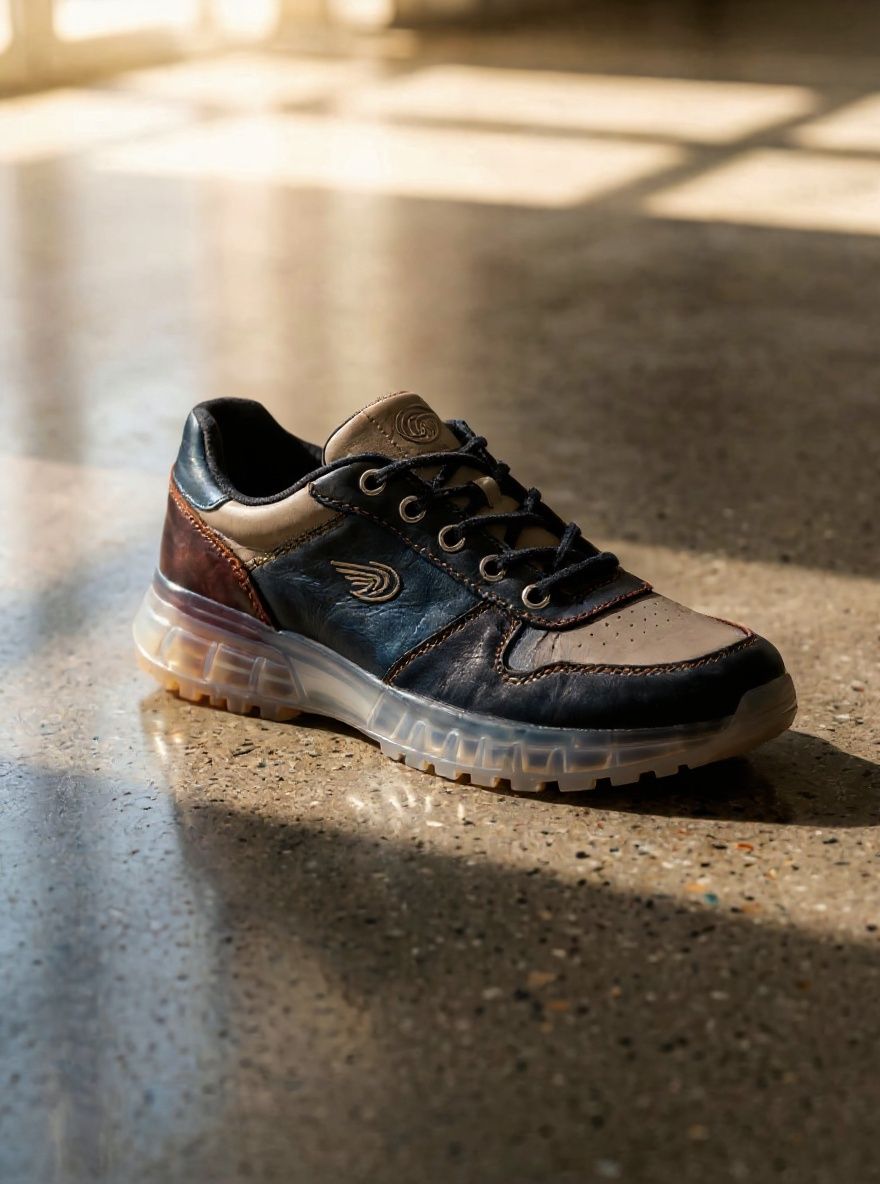 Aspect Ratio Converterreframe ONE master image into every platform aspect ratio without cropping the subject. Useful for: social / performance marketers who shoot one hero and need 1:1 (feed), 9:16 (Reels/TikTok/Stories), 16:9 (YouTube/OG), and 4:5 (IG portrait) — each one generatively extended, not letterboxed or center-cropped.
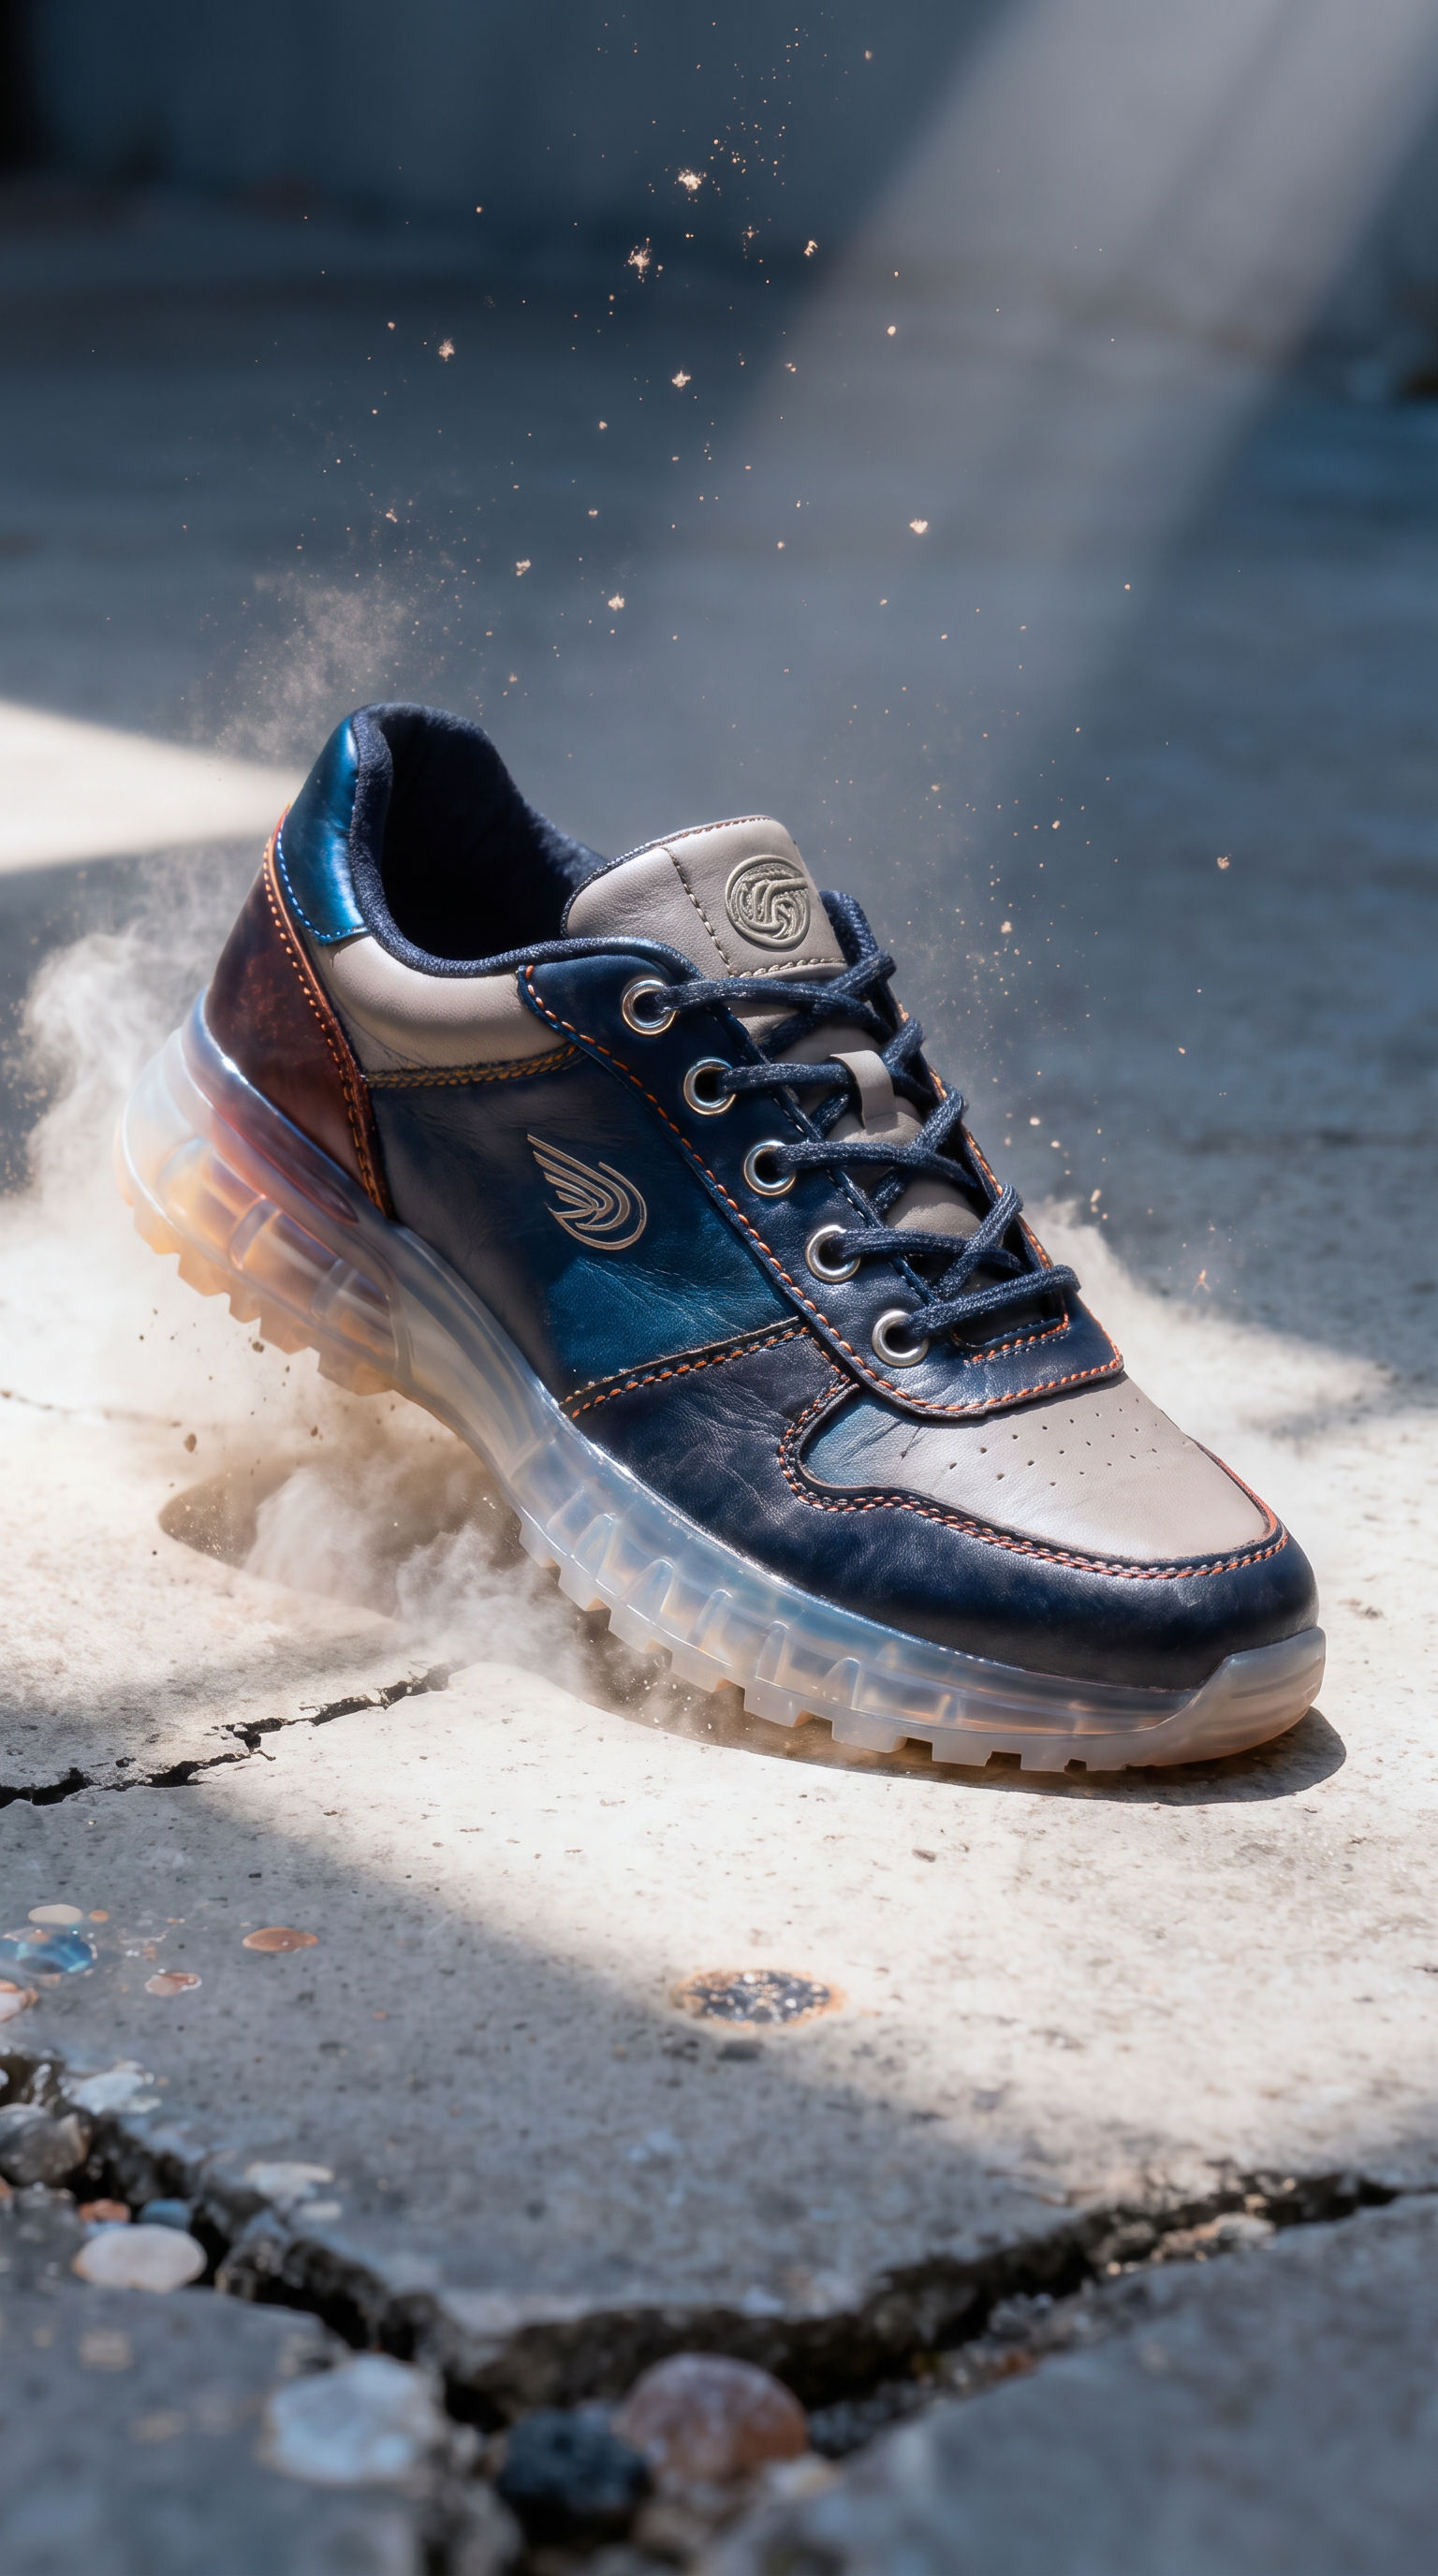 Aspect Ratio Converterconvert ONE image into every platform aspect ratio by generatively EXTENDING the frame, never cropping it. Useful for: social / performance marketers and designers who shoot one hero and need 9:16 (Reels/TikTok/Stories), 16:9 (YouTube/OG/banners), 4:5 (IG portrait) and 1:1 (feed) — each one outpainted to fit, so nothing is lost to a center crop and no black bars are added.
Use the Image Upscaler to Upscale Any Image in One Click
Upscale any image to a higher resolution in one click.

FLORA from Flora